
There are too many steps to make one blog post, so I'm breaking it down. In this post, I'm showing how to wrap the ball to do the stitching on. Simple temari aren't very difficult, especially if you have some good instruction books. I have two books, and these are where I've learned all the temari I know - not much, but enough to make some pretty balls!
Here are my books:
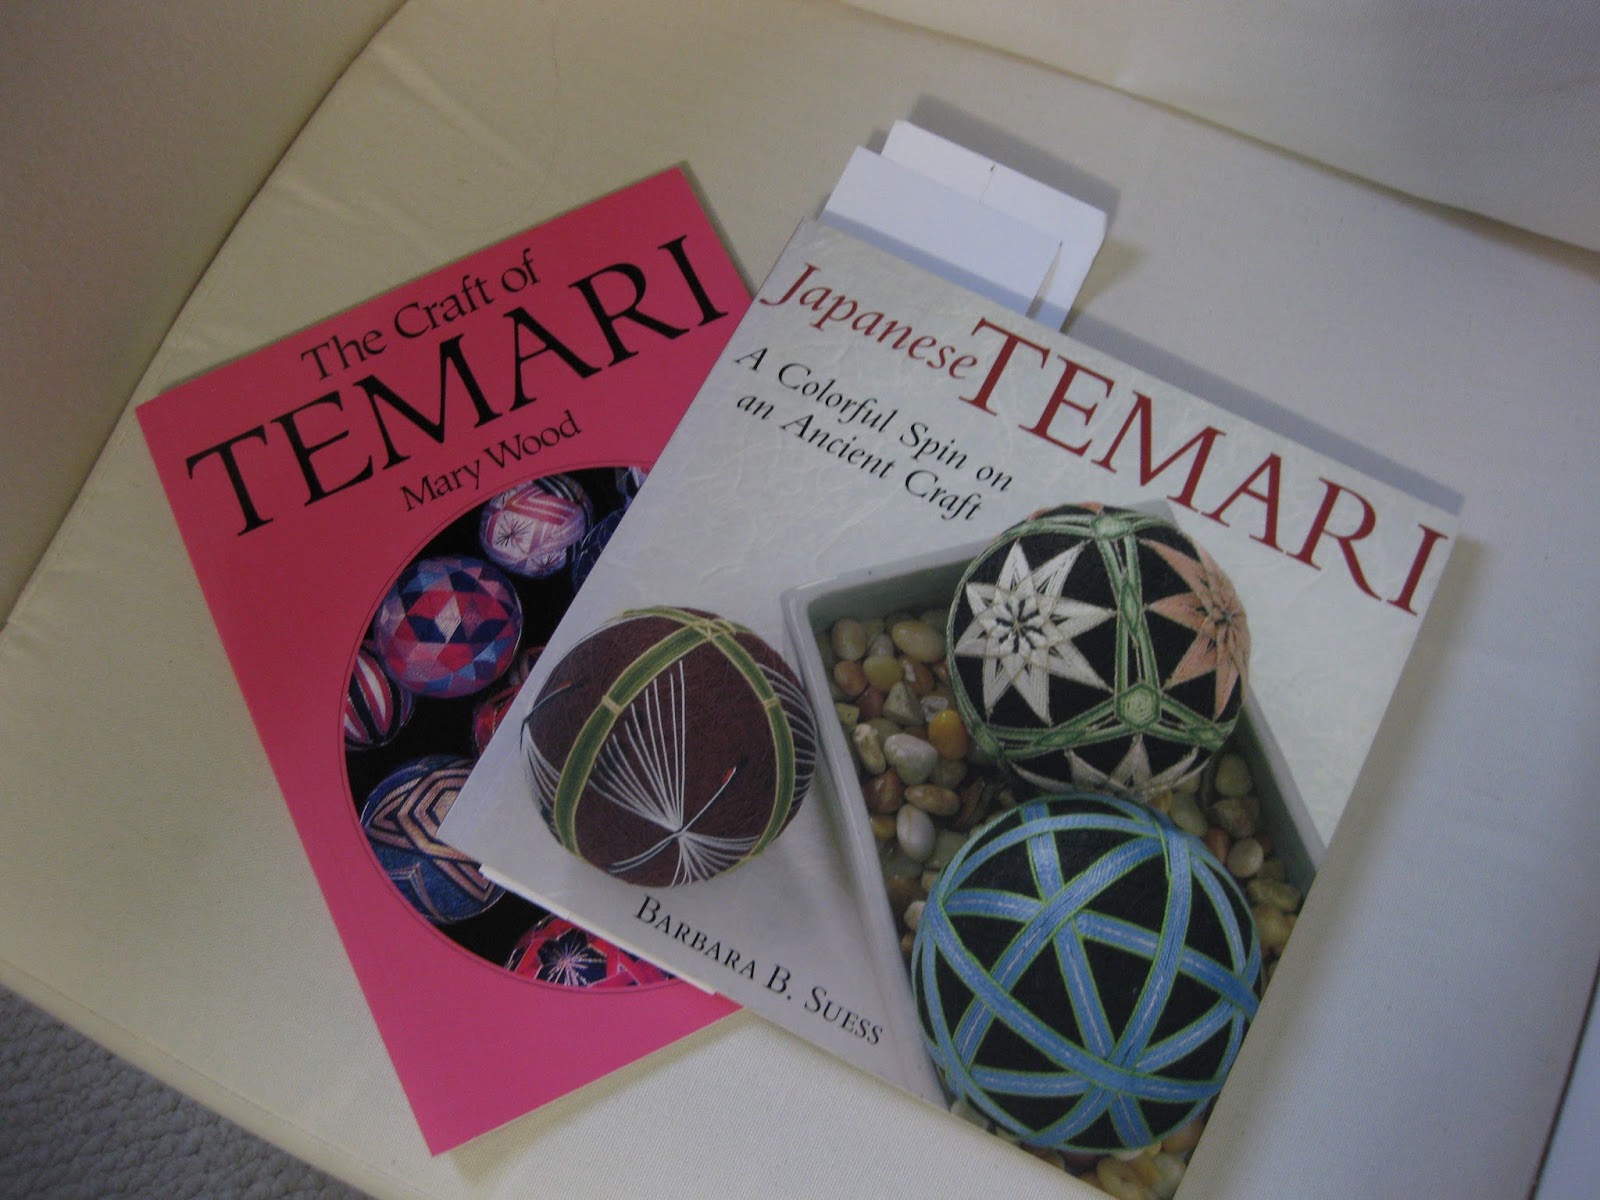
The Craft of Temari by Mary Wood and Japanese Temari by Barbara B. Seuss. The Barbara Seuss book has especially clear and easy-to-follow instructions.
To get started, you need some leftover yarn and some styrofoam balls. I like the 2.5 inch balls because they make a finished size that is easy for me to hold on to when stitching. I have done bigger balls, but my hand tends to cramp when holding them. You also need a darning needle.

With your yarn, begin to wrap the styrofoam ball, constantly turning the ball in random directions so that you don't get too much yarn built up in any one place. I like to use sock yarn or 4-ply because I think it makes a smoother ball, but you could use a heavier yarn if you need to. Just be aware that you may need more thread to smooth the ball out later - and wrapping the thread is more tiring than wrapping yarn.

Wrap enough yarn around the styrofoam so that you can't see any of the white and the ball feels a little bit squishy. The amount I used here is what is left over from a skein of sock yarn after making one adult size sock - not sure how many yards that is! When you reach the end of the yarn, thread the last few inches onto the needle and take it in and out of the wrapped yarn a few times to bury it. (Click the picture above to make it larger.) You don't need to cut off the tail if you don't want to, since you'll be wrapping thread on next.

Now take two spools of all-purpose thread and repeat the process. I used the large spools that have 250 yards each. Wrap tightly so that the threads won't come loose later. Bury the ends just like you did with the yarn.

After you've wrapped both spools of thread, the ball should look nice and uniform, with none of the yarn showing through. It should also feel like a firm base to stitch on, with a little bit of cushion. Make sure to bury the last several inches of thread by stitching in and out of the ball three or four times, and then carefully cut off the tail - don't cut any of the wraps!

Now you've got a nice base ready to be marked with divisions!
Whoa! I'm impressed with your stamina - that's a lot of work to wrap it with thread. I'm really intrigued by this process!
ReplyDeleteI find it a good thing to do when I want to do something with my hands, but don't want to use my brain!
ReplyDeleteGreat tutorial for part I. I'm intrigued and excited for more!
ReplyDeleteThanks, Evelyn! I really appreciate that feedback! Hope the rest is clear too!
ReplyDelete