I had a couple set-backs. I first traced out the size 38 pattern because I had some confusion about what size to make. The confusion was actually more like denial I think. I was measuring my "hip" - NOT the widest part of me. After taking some flat pattern measurements, I realized that was never going to work.
So I retraced the pattern in a size 40, because I've purchased size 40 clothing before. For that round, I even went so far as to pin it all together to do a tissue fitting. Go ahead and laugh - I deserve it! It didn't dawn on me until I was struggling to get my paper pants past my calf that stretch denim stretches - paper doesn't! D'oh!!
I did a few more flat pattern measurements, and compared the pattern to my measurements and some jeans I have that fit me well in the hip. I started watching the Pants Fitting Craftsy class. I started reading Pants for Real People.
And then I got real, and traced out the size 42. Some more measurements and comparisons confirmed that this size and shape is very close to my RTW jeans. So I'm hopeful that the fit refinements I have to do will be to tweak the things I don't like about the jeans I have.
While all that size-choosing was going on, I had a fabric crisis as well. I fell in love with the "muslin" denim I'd bought, and anticipating a fitting nightmare, decided to order some extra from Fabric.com. I got 4 yards each of 2 different weights, thinking that I'd have enough to make 4 muslins if necessary and then the first fabric I bought could be the real thing.
Yesterday I went through the teeeeeedious process of prewashing that 8 yards of denim - twice (PFRP recommends thrice, but I just didn't have it in me), and then ironing it. And when I went to cut out my pieces, I found that they didn't fit on the fabric as shown in the layout. And I'm not really sure why - my fabric is 52" wide, more than enough to go around my hips. I haven't measured it yet, but could I really have gotten that much shrinkage? So, I had to alter my placement, which meant that I won't be getting 2 pair of jeans out of that 4 yards. Good thing I bought extra!
I also found that while the pattern says what length of fabric to get, it doesn't mention a width, although I suspect most denim comes in 52" - 54" widths.
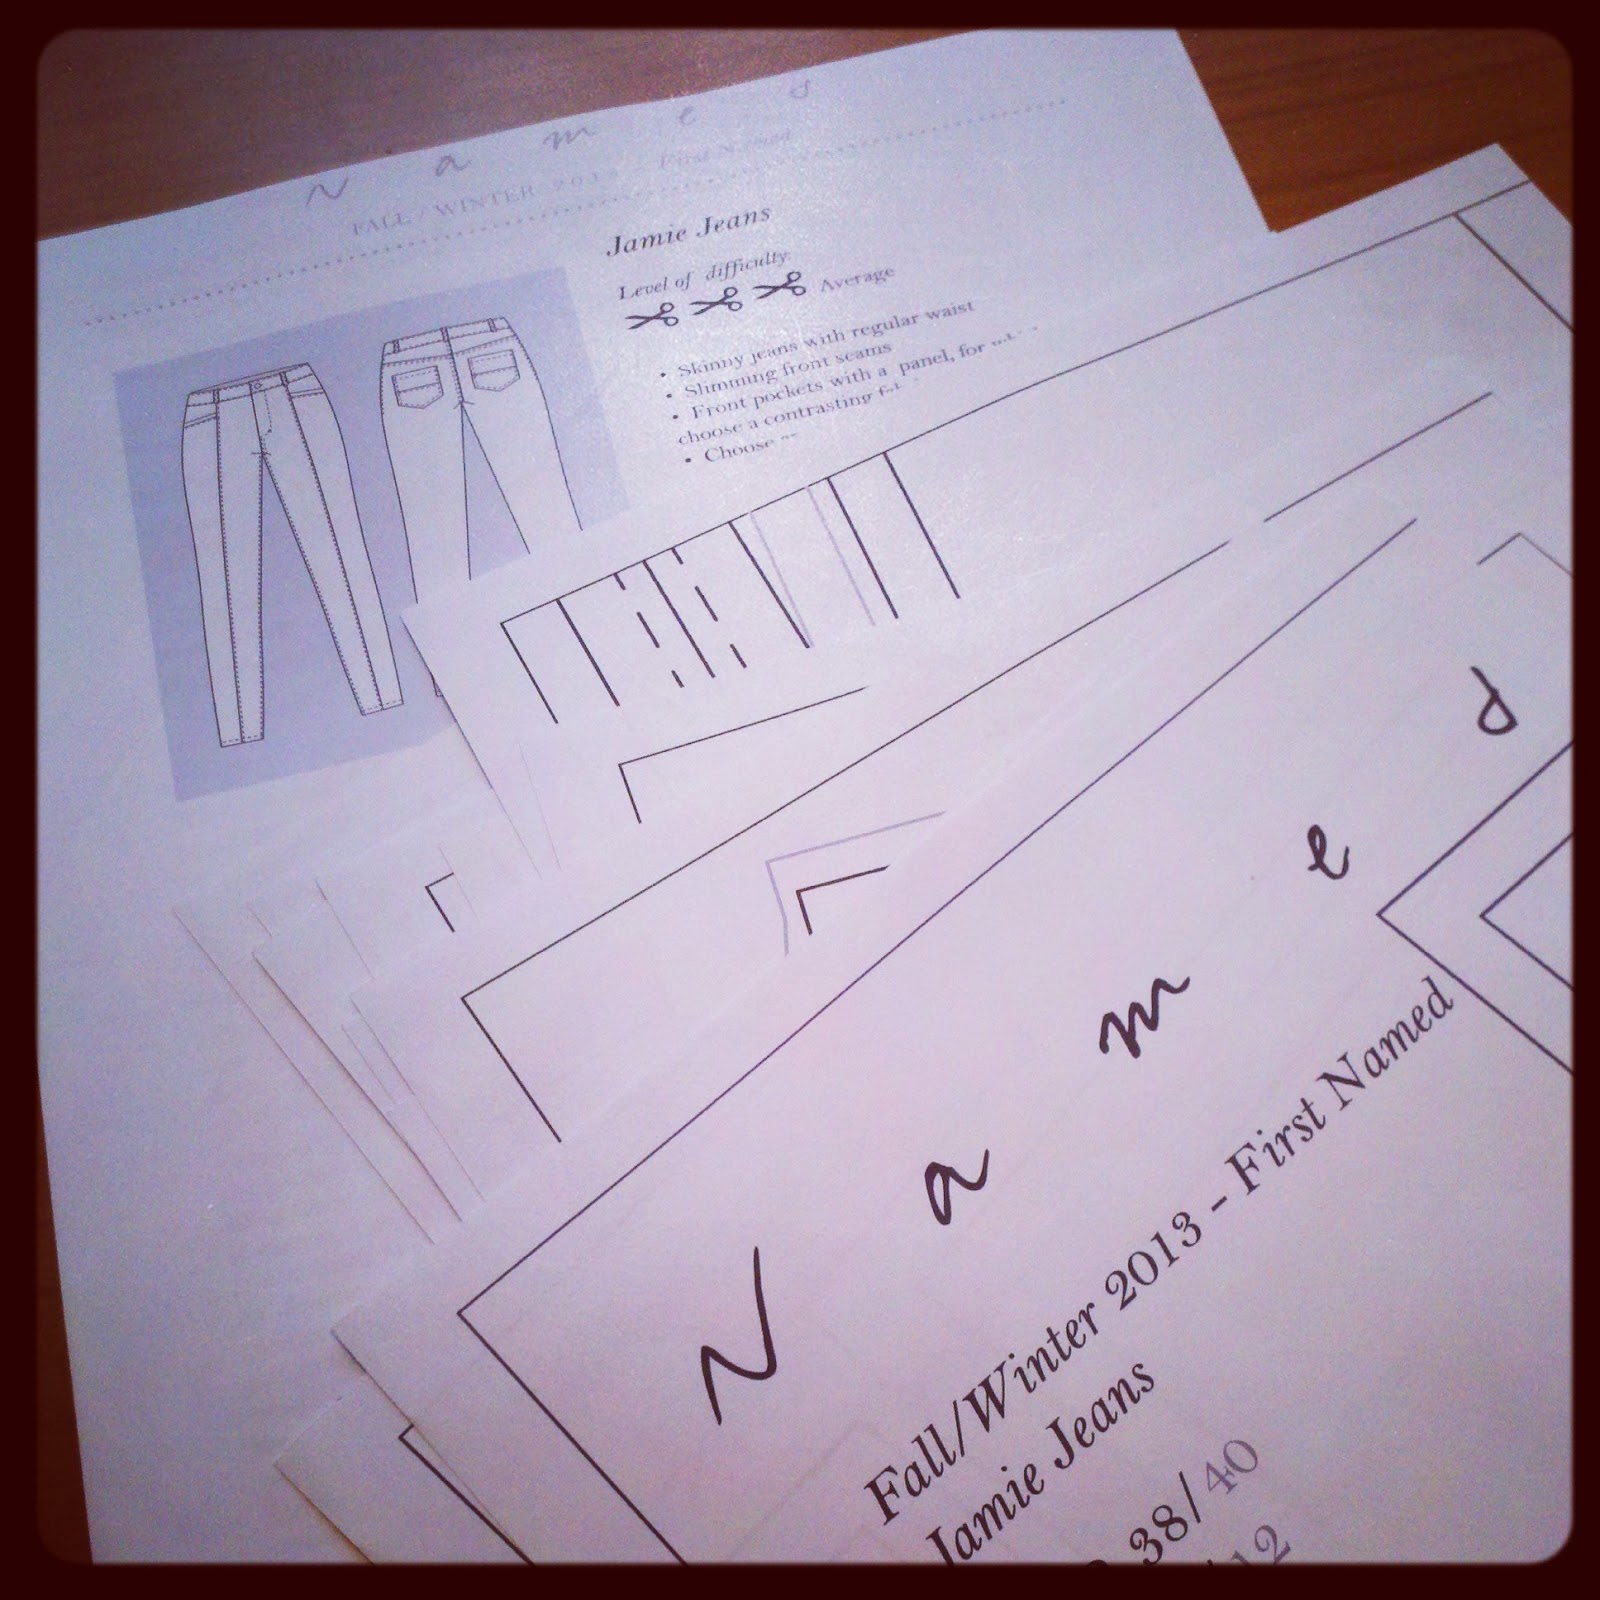
Anyway, I cut out all my pieces yesterday, to get ready for sewing today.

I decided to sew this heavy weight denim on my Kenmore rather on my Janome - it's just a sturdier machine. And I'm pretty sure that was the right choice. I didn't really have any trouble, except when I was attaching the back pockets. The denim needle went through everything nicely. I'd heard that it's best to use a topstitching needle for the topstitching, and that's where I had trouble on the pocket. On my first pocket, the needle kept getting hung up on the thick areas. I couldn't even move it - I had to cut the top and bobbin threads, remove the bobbin and the race and pull the thread free before I could lift the needle. I had to do that 4 times on the first pocket, and I'll have to go back and hand-sew those ends in. However, I finally realized that the denim needle might work better in that instance, and once I switched, things went much more smoothly.

The process for this pattern is sew a seam, finish it (on the serger) then press to one side and topstitch. There's a lot of back and forth between machines, needles and threads - and for me, between floors of my house, as I sew downstairs but iron upstairs.
So I decided to sew as many little seams as I could with the denim needle and regular thread, then finish them, take them upstairs to press, and come back down, switch to the topstitching needle and topstitching thread and then do all my topstitching. Because I was working on so many steps at once, I crossed out each instruction as I finished it.

Here's a pile of pieces that have been seamed and finished, and are waiting to get pressed:

That pattern piece for the slanted pocket edge has some very fiddly angles to cut around. I chose not to do it. Instead, I cut a piece the same width, but about an inch longer. I sewed it to the pocket and leg front, and then trimmed away the extra after it was all put together. Much easier.


So, my next step is to put the legs together. I'm planning on basting it all together with the seams on the outside, to make fitting adjustments on my asymmetrical body easier. I probably won't be doing that until the weekend though.