Showing posts with label scout. Show all posts

Wednesday, September 24, 2014

Following through.

Well, I took some "modeled" pictures of my Alabama Scout today, and I'll tell you:  they're not great.  I thought the soft afternoon light would be perfect for catching glints of the beads, but my camera disagreed with me.  In fact, it didn't even want to focus on my face, preferring instead the electrical cover plate next to me.  Can't say I blame it actually - I got very little sleep last night and I'm wiped out ;-)  So it might be apparent that I wasn't really into this photo shoot; but as much as I love this top, I'm ready to hang it up, post-wise, and move on.

Despite all that, I went to the trouble of doing my hair and putting on makeup.  I even tried two different outfits, but I think the photos will make it clear which I preferred.  Here's the first one:  the "fancy" one, with dressier pants and silver shoes, and understated jewelry.


I actually think this is a pretty OK outfit, but I just couldn't get a picture that relays how nice it is.

Even so, this top really says "Rocker Chic" to me (or at least, something a little more tough than the above).  I felt a lot more at home in the second outfit, with boyfriend jeans, studded ankle-strap flats, chunky jewelry and bright red lipstick.  (Which, by the way, I was terrified I would get on my beautiful top.  Rest assured, all is well.)  I even went all out and did the half-tuck:


By the way, I like that the last vestiges of my summer tan show up in these pictures.

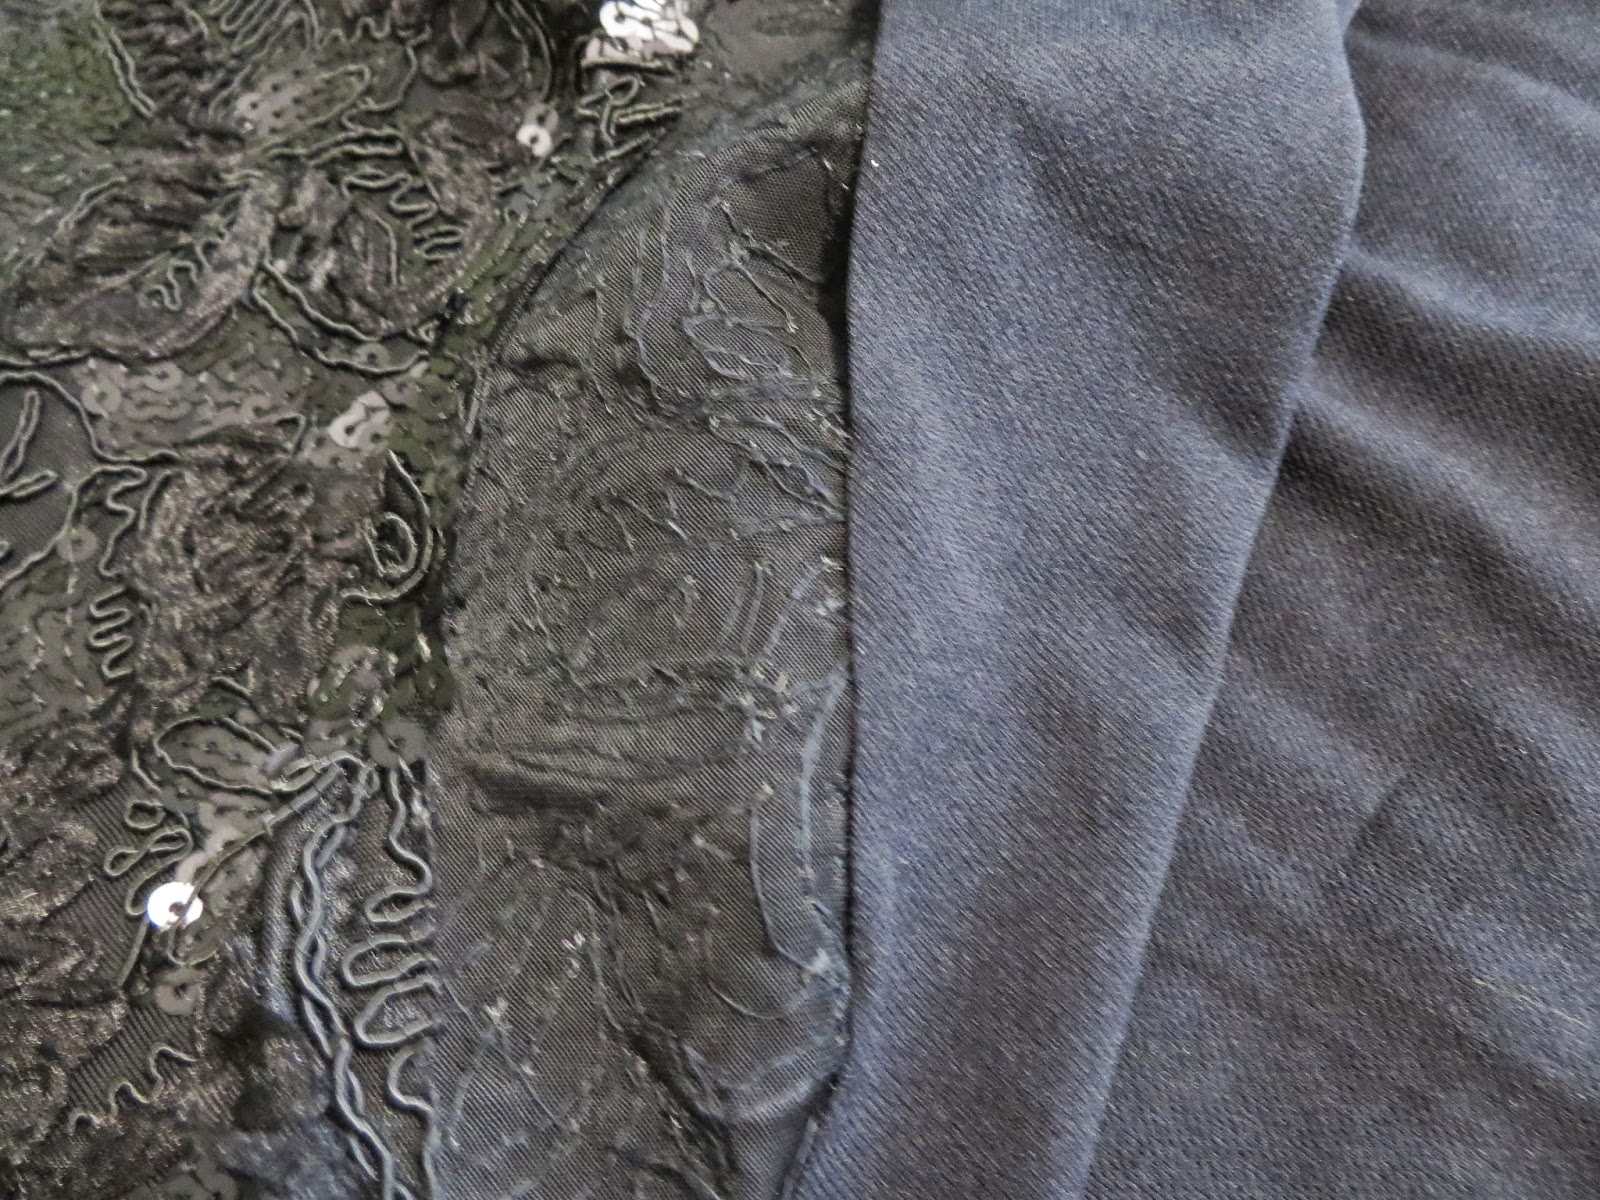
I kept trying to stand right in the light that filters into the house mid-afternoon, hoping it would pick up the beads, but to no avail.  You can almost see them in this shot:


Here are a few more from different angles, which also show how it looks un-tucked - nice and flowy.  I did wash this the other day: by hand, air-dry for about 3 hours and then finished in the dryer on delicate (all inside out, of course).  It softened nicely.


And finally, the silly shot:

Hey camera!  I'm over here!  Quit looking at that cover plate!

And now I have a question to pose to you all that I've been thinking about a lot.  How would you style this top?  I think that I tend to get into a rut with certain items of clothing and end up always wearing them the same way.  Do you guys do that?  I ask because sometimes I read other bloggers' posts about their makes where they say, "I'm not sure what to wear this with."  I always seem to come up with ideas for other people, but not so much for myself!  I'm the same way with home decor too, by the way.  So if anybody would like to share an opinion, I'd love to hear it!

So this is (finally) the last post about this top.  But fear not:  I've already started (and almost completed!) a second Alabama Chanin project!

Friday, September 12, 2014

Hello Again!

We are finally back after a month abroad.  Our family visits took us to Turkey, Germany and Austria*; we had a lot of great times and a couple of not so good times too.  We've been home since Saturday night, and as you can probably imagine, I've spent the better part of the week catching up on things like grocery shopping and laundry. 

*Plenty of pictures on my Instagram feed!

But now I'm ready to get back to my normal routine, and in this post I'm going to pick up right where I left off and tell you all about the Alabama Chanin top I took with me as a travel project.  When last we spoke, I was getting everything ready:  cutting the stencil and the fabric, painting on my design, and putting all my materials together into a kit.  I even did a bit of stitching before we left, as a test.  And what I found is:

I love doing this work SO MUCH!!

This was the perfect project to take along for hot climates, and also for the particular situation I find myself in when we visit Turkey.  That is - it's not the type of vacation where we go around exploring.  Most of the time we are sitting around, chatting with family.  I'm not so great at just sitting, so I always take handwork with me wherever I go.  Usually it has been knitting, but this hand sewing project was absolutely the right choice for me this trip as the weather was very hot and humid. 

I posted pictures of my project in progress on Instagram when I could while I was gone, but I thought I'd re-post some of them here and add a couple new ones so you can see the progression.

Here are the two sleeves - both have been stitched, and one has been cut.


Here are all four pieces after all stitching and cutting had been done.  I'd estimate that at this point, I had about 20 hours of stitching and cutting invested.


My original intention was to completely fill each negative space with small glass beads and sequins - a technique Natalie Chanin calls "armor beading."  I'd done a small test before we left:


I loved how it looked, but I realized after working a couple small areas that doing the entire top this way would make it much too heavy.  I was also surprised by how much weight and heft the stitching added - I used the recommended Button Craft Thread, doubled, and of course using backstitch means you're using a lot more thread than if you use a running stitch.  For the four pieces I worked, I used 4.5 spools of thread just in outlining the design.

So I removed the beading I'd already done and started to work "accent beading" instead.  I wasn't sure I'd like it as much, but I'm very pleased with how it's coming along.


I have eked out a total of about 4 hours work on this since we got back, and at this point I've beaded both sleeves and about a third of the front.  I ended up not doing any beading on our trip, although I'd taken all the beads with me.  It worked out so that by the time I'd finished all the stitching, our schedule became more active so I didn't really have any free time to fill up.


I've always enjoyed hand stitching, so it's really no surprise to me that I'm loving this project.  But there's another element:  during my 2 month sewing hiatus, I thought a lot about how sewing consumes my time and space.  I love my hand-made wardrobe, and the clothing I've made for myself is what I reach for first these days.  However, I don't really think it's sustainable or wise for me to continue making SO many garments per year.  Although I wear my me-mades regularly, there are some I've never worn, because they just don't fit my lifestyle.  At this point, I'm a housewife with no children to care for.  Many days, I see no one but my husband.  Although we do go out fairly often, the number of beautiful dresses in my closet far exceeds my needs.

All this is to say that I'm starting to feel like it's time for me to slow down, output-wise.  However, making is a basic need for me.  A hand-worked project like this, I feel, perfectly balances these two desires.

So expect to see more  . . .  probably as early as tomorrow.

Thursday, May 1, 2014

I finally made a Scout Tee

And it's fabulous!

front

This may be the only Scout out there made of sequins.  As Miss Lulu told me on Instagram:  "When you arrive late to the party, you need to make a fabulous entrance!"

This is the last piece of fabric from my Sequin Fabric Buying Binge of 2013.  I got it from JoAnn's in their Black Friday sale for $12 a yard.  It looks like it's still available too, although not at that price.

Although this was my first time using the Scout pattern, I wasn't too concerned with fitting, as this is basically a stable knit fabric.  The shoulders looked good, so I gave myself a 1/4" broad back adjustment, graded from a 2 at the bust to a 4 at the hip, and then did the "full back alteration" for the full look I wanted with this top.  I think if I do this in a woven in the future, I will have to give myself more room in the hip for the unaltered version.

back

I had quite enough of cutting sequins out of seam allowances back in 2013, so I decided to fully line this one.  The lining is attached at the neck and sleeve seams, and open at the hem.  I'm so glad I did this - it makes a huge difference in how comfortable this top is to wear.


I sewed the whole thing on my sewing machine using a narrow zigzag stitch.  Because I didn't cut away any sequins, I did end up breaking 3 needles in the making of this top :-(  Still - a fabulous, vintage-looking sequin top for $20 + 3 needles!  A bargain!  (The lining cost me $8 - almost as much as the outer!)

I left the bottom of the lining unhemmed:


I was looking through my jewelry and found this old necklace from Anthropologie that I think looks just great with this:


I'm really happy with how this one came out - it's exactly what I had in mind.  I do believe this will be coming to NYC with me, so I'm going to try to remember to take modeled pictures in situ :-)