When I showed you my Pucci Swirls dress a couple weeks ago, I mentioned that it was my practice run for a couple dresses I wanted to make for the spring. Last week I made them both up on the same day, production-line style.
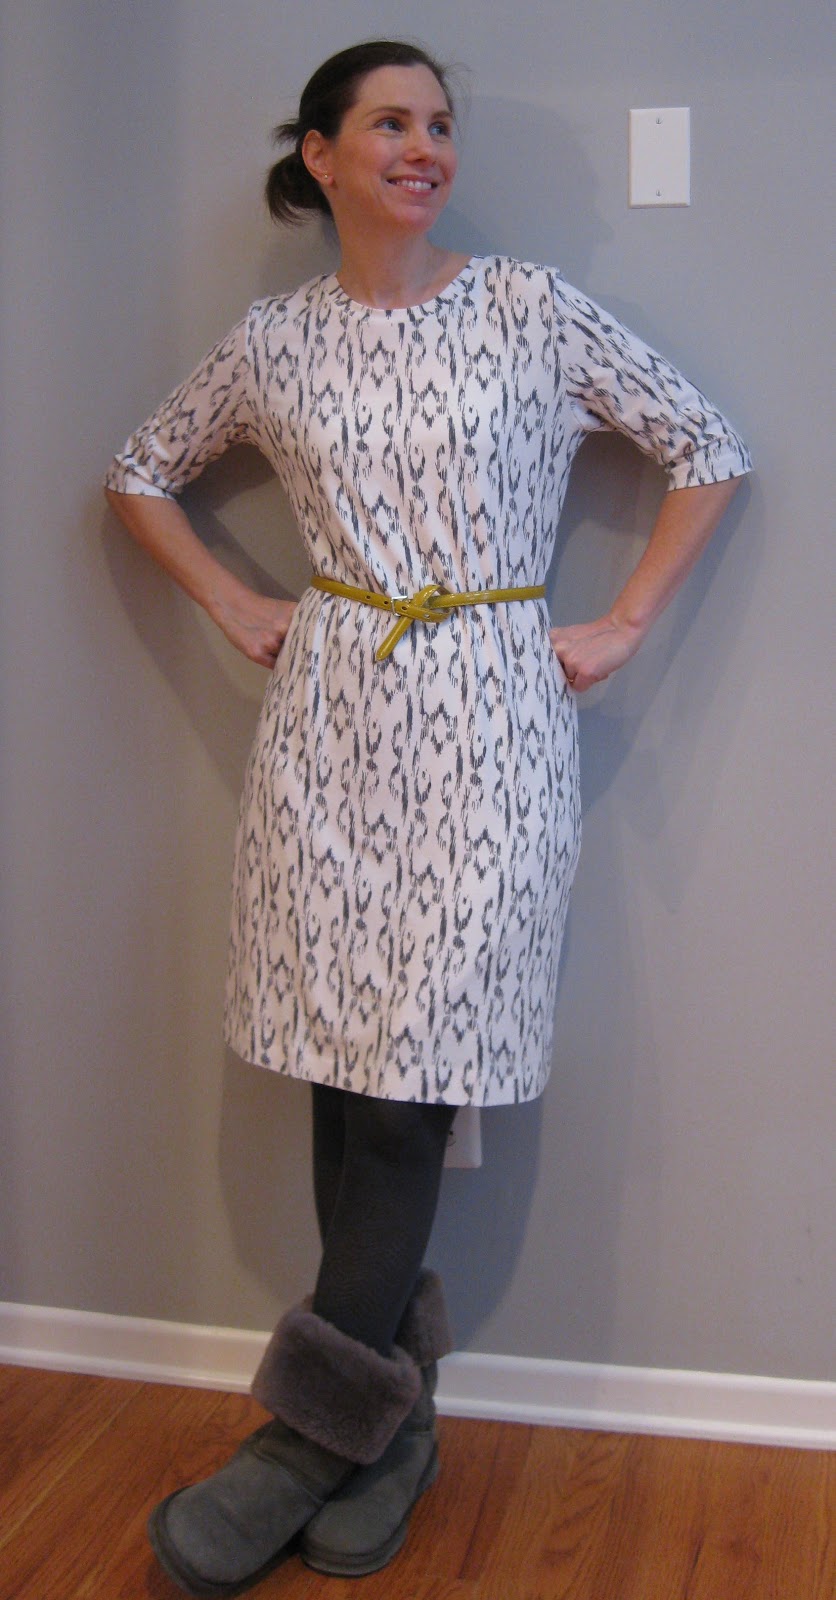
I learned my lesson from the Pucci Swirls dress re: having the print straight at the hem as well as meeting at the sides. So this time, before I even got started, I traced the front and back pieces again then taped them along the center to the original pieces to get a full pattern piece. I'm glad I decided to do it that way instead of flipping the half piece: it allowed me to see exactly what the whole front or back would look like. I have a little bit of trouble visualizing that from just a half piece.
These two dresses were made from fabrics I bought on sale at Girl Charlee in the fall. All winter, I daydreamed about making them up and wearing them in the spring. But our winter was longer than usual, and I wasn't able to get enthused about actually making them until last week. I'm so glad I got them done though, because now it's full-on spring, and I'm wearing dress #1 today!
Neon stripes! Yowza! When I bought these sandals, I thought they were really bright orange - but they pale next to the insanely bright orange in this dress!
You can see that I got the hem in line with the stripe, but it wasn't easy - the fabric was a little skewed. Also, the hemline of this dress is slightly curved, which makes things a little harder with stripes! I made sure to match the stripes at the side seams:
And did the zigzag hem again:
The only problem I had is that as I was getting ready to put on my neck binding, I discovered a tiny hole in the fabric in the upper back :-( This has happened to me more than once with knit fabrics. Fortunately, the hole was quite small, so I popped on some fusible tricot inside. I'm hoping it holds - I'd really hate for this dress to get ruined quickly. These colors make me happy.
I saved the best for last. Here is my new favorite dress for spring:
I. Love. This. Dress. This is my #1 favorite fabric I have ever bought from Girl Charlee. Stripes AND flowers - what's not to love?! This one is also on the heavier side, so this dress feels a little more substantial than the others.
These stripes are so irregular that I didn't even bother trying to match them at the sides:
But I don't think it takes away from the dress. There's a lot going on here! When I bought the fabric, I thought the stripes were navy, but I think they're actually black. I don't mind though - that expands the possibilities of things to wear with the dress.
I love this pattern so much, and I'm finding myself reaching for these dresses when I get dressed. I'm planning on going through my shrinking stash to see if I have anything appropriate for another. But first I've got some gift sewing to do :-)
Showing posts with label cynthia rowley. Show all posts
Tuesday, May 7, 2013
Saturday, December 29, 2012
Testing, testing . . .
For a long time, I've been thinking of drafting the Renfrew t-shirt into a tee dress; I'd planned on using the skirt portion of the Mission Maxi to just extend the top. But then a couple weeks ago I came across this pattern at the sale at JoAnn's:
And I thought, "For $2, why should I re-invent the wheel?"
Last weekend I had time to trace it out and make up my first version. Looking at the finished measurements, I decided to go with a size 12 for the bust and size 14 in the hips. Although my body measurements put me in a size 10 at the bust, I felt there might not be enough ease the way the pattern was drafted, and I wanted a looser fit there.
The design is a very basic shift-style tee dress, with three sleeve variations and an optional cowl. I went with the elbow-length sleeves as these are generally the most practical for me.
For my test run, I used a cotton/lycra faux-ikat jersey I'd gotten from Girl Charlee a few months ago. It was a piece of fabric I was disappointed with once I saw the real thing, so there was no risk if the dress didn't work out! I sewed it almost entirely on my serger, only using my sewing machine for the hems, which I did with a zigzag stitch.
The pattern instructs you to sew the sleeve and side seams and then set in the sleeves, but I chose to sew the sleeve heads into the armscye flat and then do one long seam from the hem edge of the sleeve to the bottom of the skirt. I think this was easier with knit fabric and didn't seem to affect the fit of the sleeve cap.
But, my first dress came out too big. This is partly because I wasn't really paying close attention, and sewed the seams with a 3/8" rather than a 5/8" seam allowance! When I tried it on, it was so loose I realized what I'd done, and went back and redid the armscye seam. After which, I realized I should have stuck with the size 10 bust after all! Here's the first, fixed dress:
I'm not sure if it comes through in this picture, but there is a lot of extra room and fabric under the arm. However, I ended up really liking the fabric - it has a really nice heft and drape, and I don't even mind the print so much now. Hubby really liked this dress - go figure!
The next day, I decided to try it again, so I redrew my pattern pieces down to the size 10 for the bust, shoulders, sleeves and waist, leaving everything beneath the waist as it was. This time I used the fabric I really wanted to make this dress in, a charcoal grey argyle print, also from Girl Charlee. I did everything the same, this time remembering to use 5/8" seam allowances, and got a result I'm really happy with:
Much better fit! And soooooo comfy! I'm planning a slew of these dresses!
Here are some comparison photos between the first dress and the second:
I haven't seen a whole lot of renditions of this pattern out there in blogland, but I think it's a really great basic, wearable piece that can serve as a template for all kinds of variations. I'm already thinking of adding some ruching to the sleeves of the white one.
And I've already ordered some more fabric to make a few for spring . . .
![]() |
Simplicity 2054 |
And I thought, "For $2, why should I re-invent the wheel?"
Last weekend I had time to trace it out and make up my first version. Looking at the finished measurements, I decided to go with a size 12 for the bust and size 14 in the hips. Although my body measurements put me in a size 10 at the bust, I felt there might not be enough ease the way the pattern was drafted, and I wanted a looser fit there.
The design is a very basic shift-style tee dress, with three sleeve variations and an optional cowl. I went with the elbow-length sleeves as these are generally the most practical for me.
For my test run, I used a cotton/lycra faux-ikat jersey I'd gotten from Girl Charlee a few months ago. It was a piece of fabric I was disappointed with once I saw the real thing, so there was no risk if the dress didn't work out! I sewed it almost entirely on my serger, only using my sewing machine for the hems, which I did with a zigzag stitch.
The pattern instructs you to sew the sleeve and side seams and then set in the sleeves, but I chose to sew the sleeve heads into the armscye flat and then do one long seam from the hem edge of the sleeve to the bottom of the skirt. I think this was easier with knit fabric and didn't seem to affect the fit of the sleeve cap.
But, my first dress came out too big. This is partly because I wasn't really paying close attention, and sewed the seams with a 3/8" rather than a 5/8" seam allowance! When I tried it on, it was so loose I realized what I'd done, and went back and redid the armscye seam. After which, I realized I should have stuck with the size 10 bust after all! Here's the first, fixed dress:
I'm not sure if it comes through in this picture, but there is a lot of extra room and fabric under the arm. However, I ended up really liking the fabric - it has a really nice heft and drape, and I don't even mind the print so much now. Hubby really liked this dress - go figure!
The next day, I decided to try it again, so I redrew my pattern pieces down to the size 10 for the bust, shoulders, sleeves and waist, leaving everything beneath the waist as it was. This time I used the fabric I really wanted to make this dress in, a charcoal grey argyle print, also from Girl Charlee. I did everything the same, this time remembering to use 5/8" seam allowances, and got a result I'm really happy with:
![]() |
Hubby likes this one even better! |
Much better fit! And soooooo comfy! I'm planning a slew of these dresses!
Here are some comparison photos between the first dress and the second:
![]() |
Less excess under the arm. |
![]() |
Much better fit at the shoulders. |
![]() |
From the back. I could probably use a tiny swayback adjustment here. |
I haven't seen a whole lot of renditions of this pattern out there in blogland, but I think it's a really great basic, wearable piece that can serve as a template for all kinds of variations. I'm already thinking of adding some ruching to the sleeves of the white one.
And I've already ordered some more fabric to make a few for spring . . .
Subscribe to:
Posts (Atom)