For months I've been planning to spend a fair amount of my fall sewing learning to make a tailored blazer. I've gotten a small start on that, but to sort of ease into it - and because I wanted one - I decided to make an unstructured knit blazer first.
I've got plenty of blazer patterns in my stash, so I had a look through them and pulled out my favorites, then decided to go with
Butterick 5926, which is made for "moderate stretch knit fabrics." There are options for a shorter or longer length, and full or three-quarter sleeves. I chose to make mine with long sleeves in the sorter length, which hits at my high hip.
My first version was a fit muslin but I was hoping (as one does) that it would be wearable. Still, I didn't want to spend a ton of money on fabric, so I headed over to my local JoAnn's and picked up a couple yards of their
Sew Classic Ponte Roma. With a 50% off coupon, my fabric cost me $13; I spent another $3 or so on knit interfacing. I'd never used this fabric before but for the (sale) price, I'd say it's fairly good quality - IF you check your yardage before purchasing. I didn't, and after my fabric was washed I found a large run. Luckily, I was able to cut around it. This fabric is 60% polyester and 40% rayon. I was worried it might be too hot and polyester-y, but it's very soft and quite comfortable to wear.
I got a bit cocky and didn't take any flat pattern measurements or do a tissue fitting. But I did look at the finished garment measurements, and decided to go with a size 10, which is where my bust measurement puts me. I was surprised that the ease was pretty much perfect!
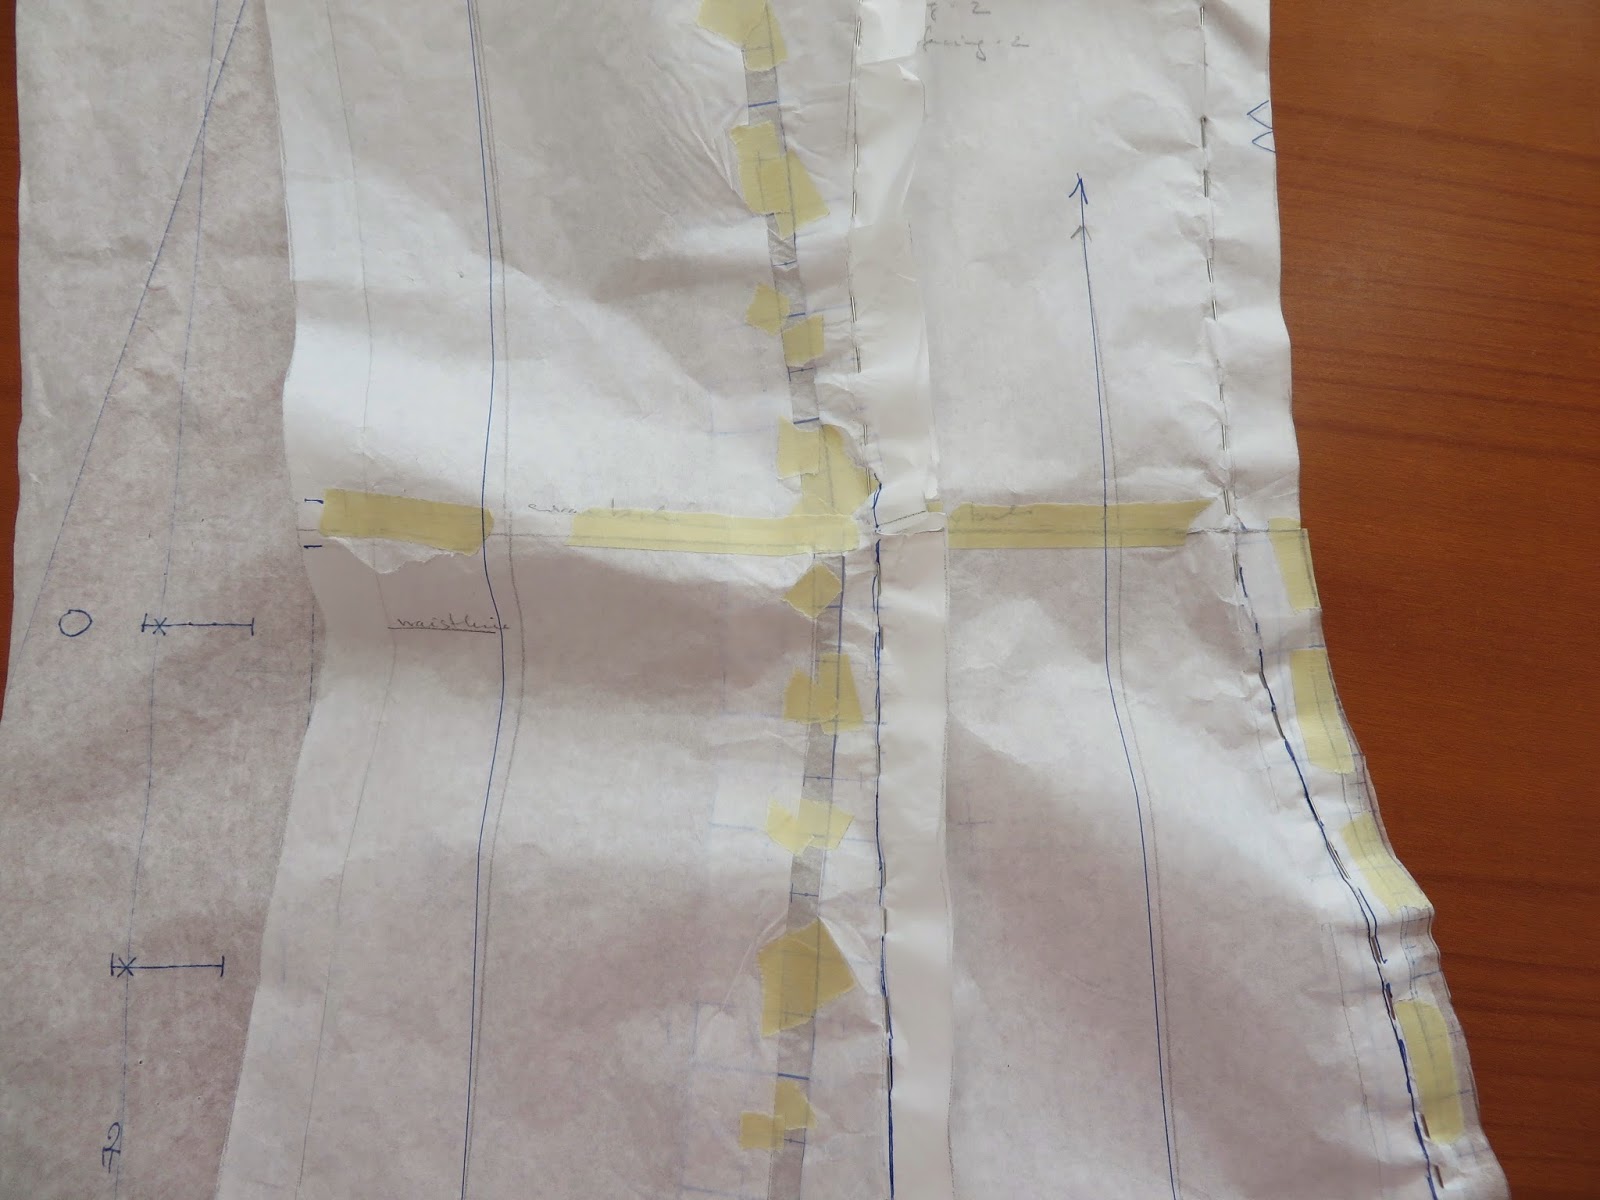
Before cutting, I made a bunch of flat pattern adjustments that are pretty common for me:
*
Forward Shoulder Adjustment of 3/8" - less than my usual of 1/2" - 5/8"
*
Broad Back Adjustment of 1/4" - again, less than my usual of 1/2"
*
Sway Back Adjustment of 1"
*
Shortened Sleeve by 1" and moved elbow dart up to correspond
I was pleased that the pattern had a center back seam and upper back shaping in the form of darts coming off the back neck.
So, how did it work out? Well, I admit that I was a little underwhelmed when I first finished it. I felt like I'd overdone it with the Forward Shoulder and Sway Back adjustments. But I've worn it a couple times now and while I do think I can back off on those two adjustments just a bit, it's not too bad - not any worse than something I'd buy off the rack. Here's me wearing it this morning, making my squinty face into the sun while Alicia took my picture:
I think this pattern is a keeper for me. But there are a few things I will do differently the next time:
*
reduce the Sway Back adjustment to 3/4" and
*
narrow the shoulders by about 1/4" - this one is a surprise to me because my shoulders are on the broader side; it could be that I should really be in the size 8, but I like the ease I have here
The one thing I really don't like about this pattern is the placement of the buttonholes. I worked them as written in the pattern and they are just too far in from the edge. It looks a little ridiculous when buttoned. It's not a huge problem because I'm not likely to button both buttons at once, but still . . .
these guys are about 1" from the edge.
There were a couple places I found the instructions a little lacking. One was at the insertion of the collar, which wasn't too hard to figure out. The other though was the hem. The bottom hem is topstitched down, and while the pattern says to "trim" before hemming, it doesn't say how much. I missed that part and fused the entire width of the hem back with double-sided fusible. When I got to the point of topstitching, I realized that if I stitched at the edge of my turn-back, I'd be stitching through the pocket! Of course, since it was fused down it was too late to trim it. It won't show while I'm wearing the jacket, but it kind of bugs me knowing the excess fabric is there.
This ponte, while nice, is on the thin side. I was a little disappointed when I tried the jacket on over some
sleeveless dresses made from thicker ponte that the shoulder line became very lumpy. (P.S. this is my favorite dress, ever. I have it in a gazillion colors, I love it that much.) So next time, I may consider adding in some thin shoulder pads. That said, it's pretty nice to have an unstructured, unlined jacket: it feels like a cardigan but looks like a blazer. I've been enjoying wearing this a few times in the week since I made it.
I did all my stitching on the regular sewing machine, using the "double stitch" as instructed in the pattern - really just two parallel rows of stitching before trimming the seam allowance. I only dragged out my serger to finish the raw edge of the front facing.
I finished this last week, and tried a few times to get pictures of it. As you no doubt know, trying to photograph a black garment indoors isn't the easiest thing to do. This is the only picture from last week that came out half way decently - this is how I wore it to do some errands, with my
white lace Renfrew, jeans, black flats and a sweet vintage leopard print scarf given to me by
Andrea this spring.
And today I'm back at it with
another Renfrew, jeans and a different pair of black flats! Hey, if it works, it works!
Have any of you made this pattern? Did you like it? This one gets a thumbs up from me. The great thing about an unstructured blazer is that even if the fit isn't stellar, I don't think it matters
too much. It's a pretty forgiving garment! There's room for me to improve the fit here, but I'll enjoy wearing this one. A black blazer was high on my list of holes to fill in my wardrobe. I hope to do a more structured woven version someday, but this one will do for now!