
My original intent was to make this a lined skirt, just because I usually line skirts. But after I stopped to think about it, I realized a few things: one, this is stretch fabric, and I didn't have any stretch lining. Also: it's denim. Maybe they exist, but I've never seen a lined denim skirt. So I scrapped the lining and decided to concentrate on keeping the insides neat.


Here's a quick rundown of the order in which I constructed the skirt - it's a little different from the instructions (which I've now read).
1. Sew darts.
2. Apply fusible knit strip to entire center back edges.
3. Finish back and side seam allowances on serger.
4. Insert invisible zip.
5. Close center back seam.
6. Sew side seams.
7. Finish bottom edge on serger.
8. Fold waistband in half lengthwise, apply fusible interfacing to one half.
9. Finish un-interfaced side of waistband on serger, removing 1/4" of width.
10. Stitch interfaced side of waistband to skirt, then grade seam allowances.
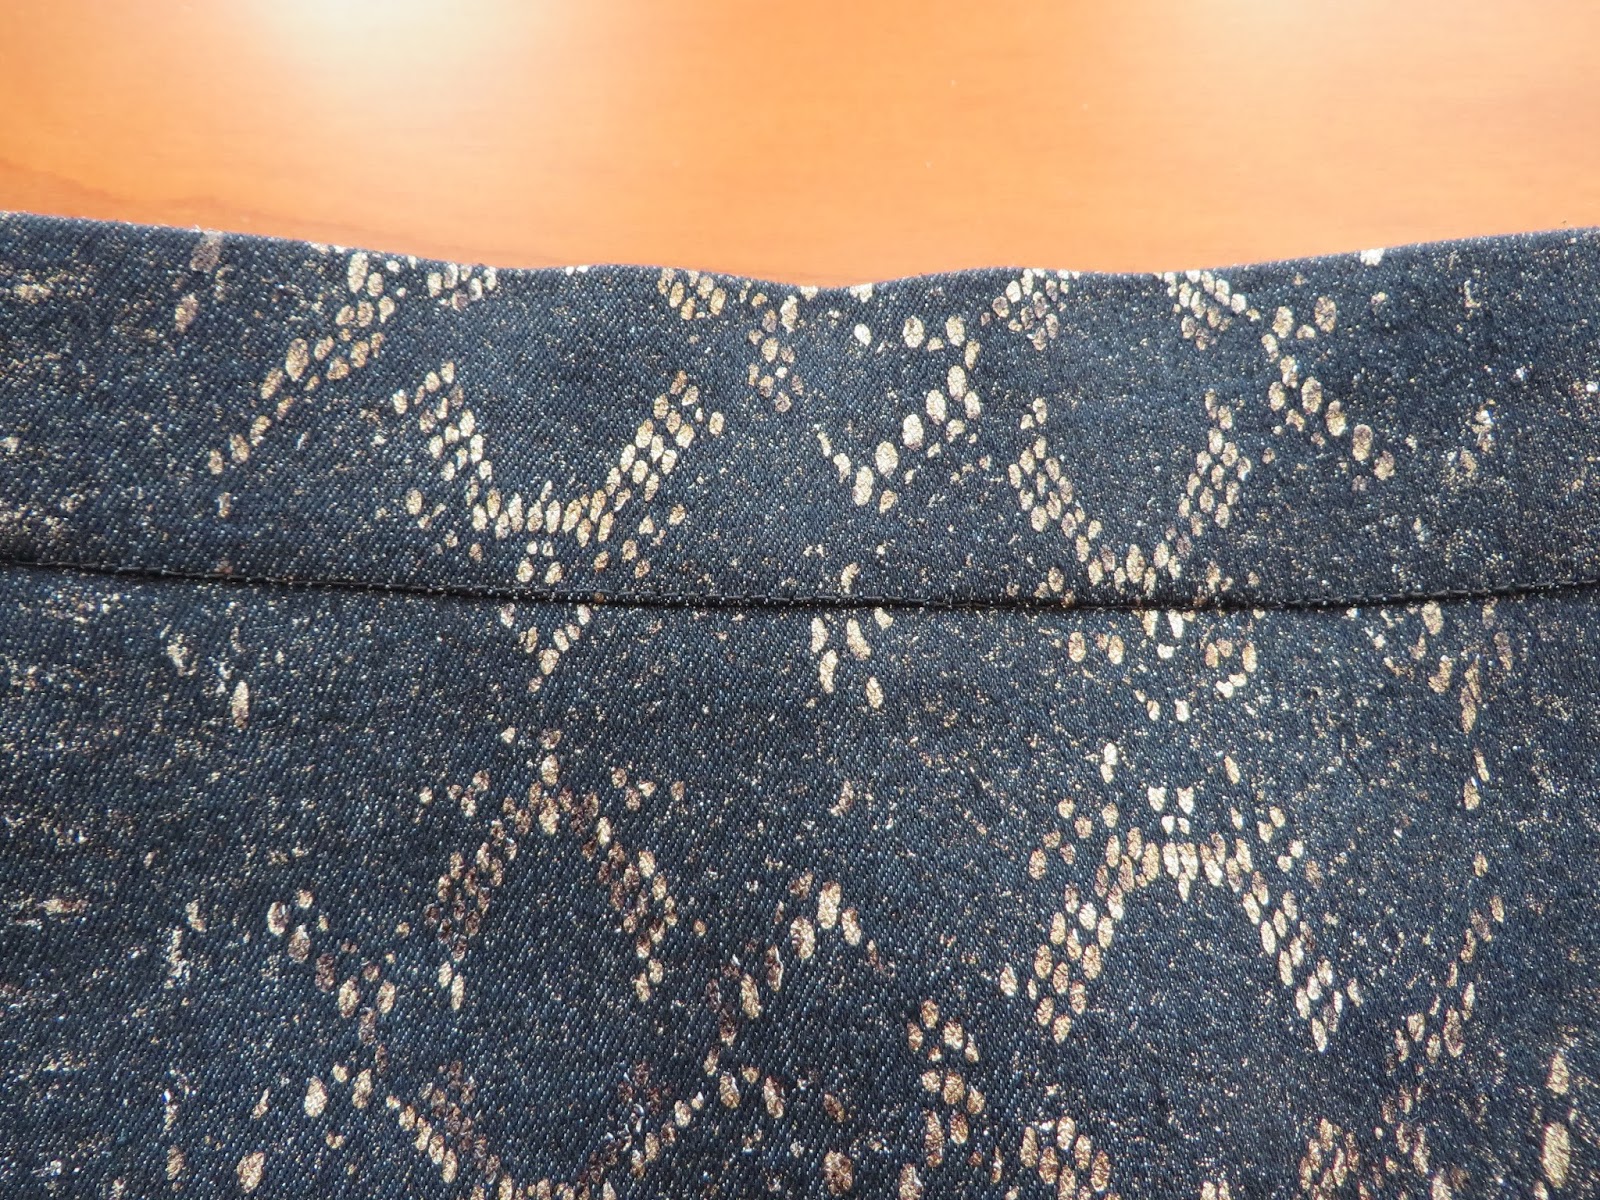
11. Stitch waistband edges closed.
12. Fold waistband to inside, pin, then stitch in the ditch from outside to attach.
13. Press up hem 2" then stitch down with coverstitch or twin needle.
14. Sew hook and eye at back closure.
It looks like a lot of steps, but they're all easy, short steps :-) And of course there's pressing after each step.
Now, some particulars.
I noticed that I've been getting kind of sloppy with my darts lately, so that they're dimpling at the ends. I took extra care this time - I didn't want any dimples! I usually don't bother with shortening the stitch length for the last 1/2" of the dart, because I invariably forget to increase it again before the next one. But this time I did, and it paid off.

Sunni has a lot of great information on pencil skirt sewing on her blog. In one of her posts I read that she uses fusible tape not only on the zipper edge, but all the way down the back of the skirt to give extra stability. So I did that too. I must say that ever since watching her Craftsy class, I've been using the tape on my zippers and it makes a big difference on how they sit in the fabric - so much more smooth.

Here's a picture of all the serger-finished edges. I went with 4-thread instead of my normal 3 for finishing, because of the weight of the fabric. You can also see the tape going all the way down to the hem.

All these pictures were taken after the skirt was finished, not during construction. So I don't have a picture of the waistband in progress. But here's how it looks from the inside and outside. I chose to serge the bottom inside edge and stitch it down with stitch-in-the-ditch rather than folding the inside bottom edge in to eliminate bulk. I really like how it worked out, and it was faster and easier than doing it the normal way.


Here's the coverstitched hem:

And finally, here's a shot of the whole skirt:
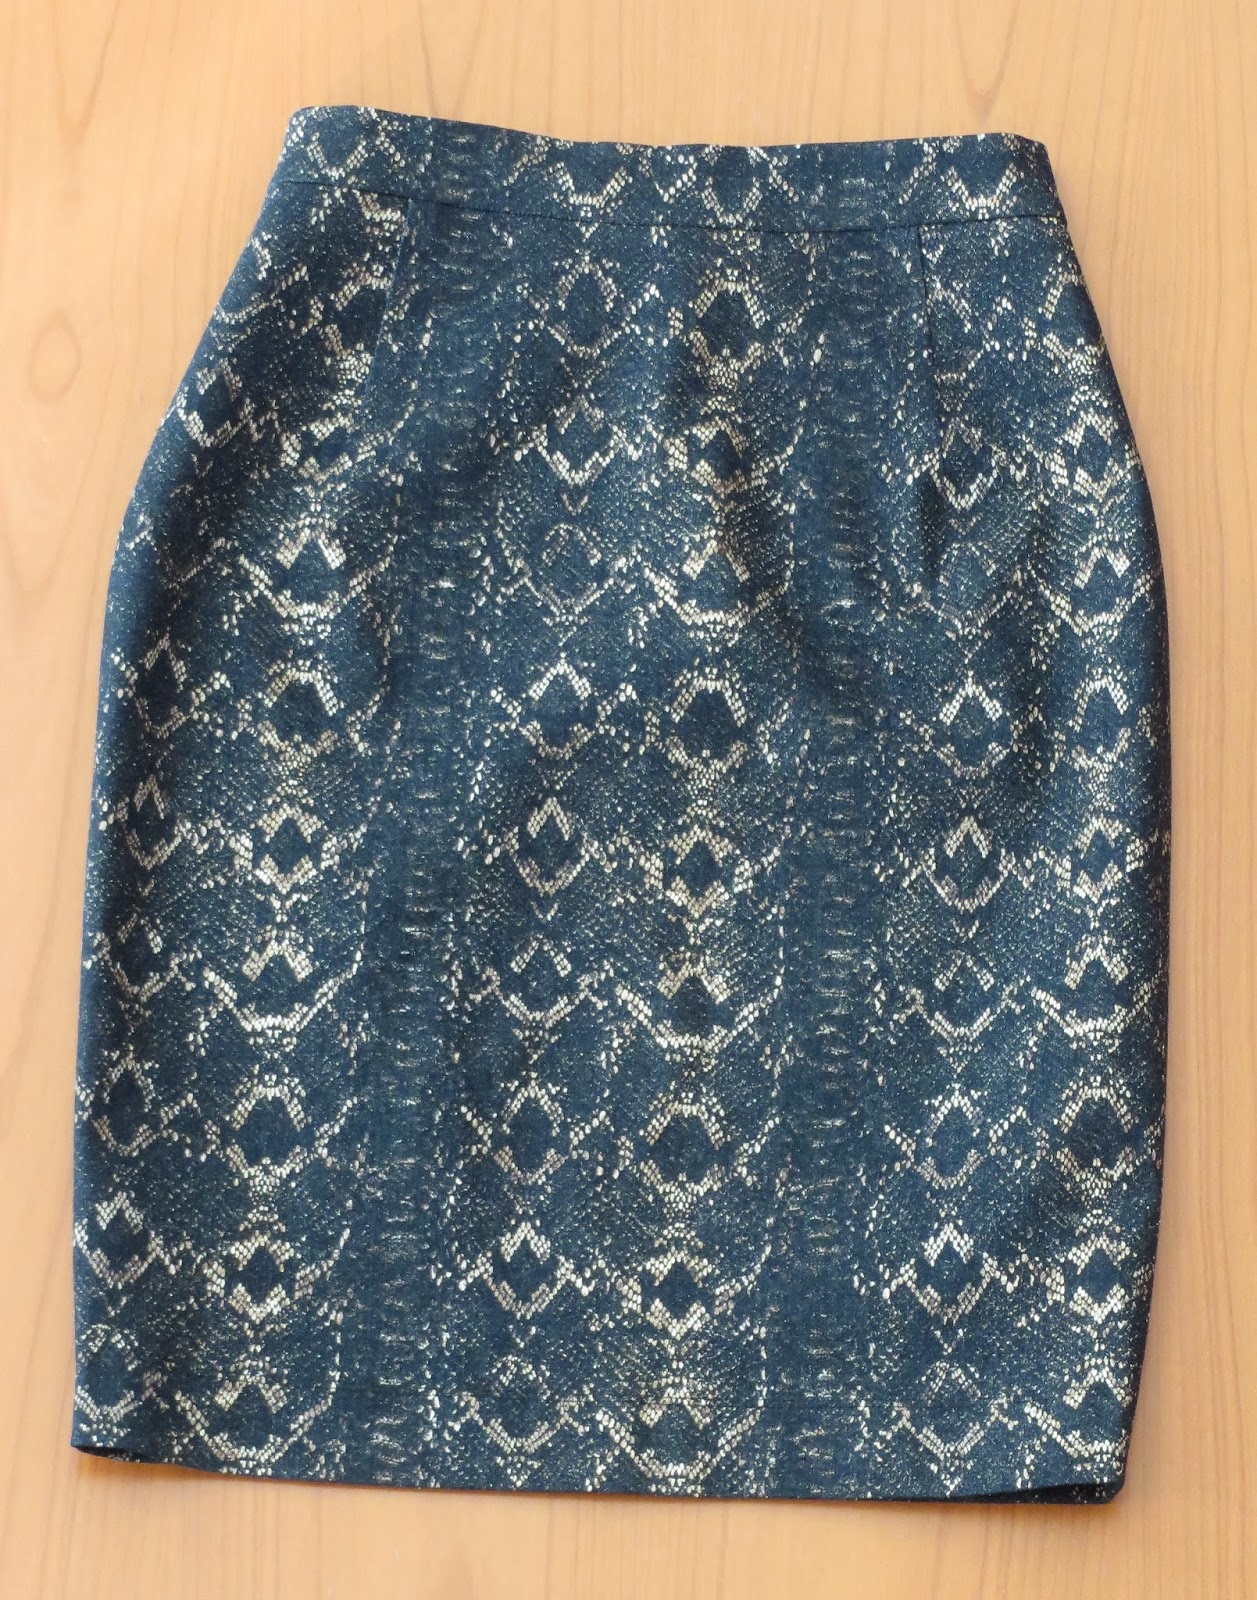
And with that, I think I've finally exhausted all I wanted to say about this skirt!
The work you've put into finishing this skirt really shows. It looks very expensive..
ReplyDeleteOooh, thanks, Evie! What a great compliment!
DeleteHey Gail, any suggestions for drafting a waistband for a skirt that only includes a facing??
ReplyDeleteHahaha, you're asking me?! I'm totally seat-of-the-pants :-) I guess I'd do it the way I'm planning to do for this pattern: take a long rectangle of muslin, sew it to the skirt, and then start pinning out wedges of fabric to get the fit you want. Hope to report soon with progress on that.
DeleteHahaha!!! Ok. I can envision that. I guess I should be able to use the facing as a guide, no??
DeleteWell, personally I'd scrap the facing. It will have a curve, but the wrong curve for the area you want, as it's meant to sit from the waistline down, rather than waistline up. I think it would be easiest to start with a blank slate, i.e. a rectangle.
DeleteHope this helps you Mrs. Smith
Deletehttp://www.threadsmagazine.com/item/34589/video-couture-techniques-for-building-a-waistband
Ohhhh. Makes senese. Thanks Tee for doing the research for me! :-O
Delete:-)
That is a really great skirt! I'm going to look through my patterns to try one for myself.
ReplyDeleteThanks, Bobbi! I'm so glad I've finally started cracking this nut, because it opens up a world of possibility for sheath dresses and slim skirts!
DeleteLove it! It's so great to have a plain, beautifully fitting skirt pattern ready to go!
ReplyDeleteIt sure is - I already made another one!
Deleteoooh i love how you did the waistband on the inside! so smart for keeping the bulk down. beautiful skirt inside and out... and now i want to make a pencil skirt!
ReplyDeleteI thought I learned this from you! But I guess not! I made one this morning in 3 hours total - that included hand-stitching the hem and putting away all 3 machines. Such a great, quick project!
Deleteoooh, now that i think about it i did do that once on a kid skirt--which is probably why i forgot! haha :)
DeleteI've been reading all about this skirt as I catch-up on my blog feed. I can't wait to try some of these adjustments to see if I'm able to fit a pencil skirt as expertly as you have here! I have a "difficult" figure to fit also, and I've struggled to find a fitted pattern that accommodates my body type. Thanks for all the useful information.
ReplyDeleteGlad it was useful, Michelle!
DeleteYour skirt is gorgeous inside and out:)
ReplyDeleteThank you so much!
DeleteOoh I like this skirt!
ReplyDeleteThanks, Stef! It's only January, but I already know this will be on my Top 5 this year!
DeleteThis could not be more beautifully made.
ReplyDeleteThanks, Kristin!
DeleteFabulous! Don't you love it when your make looks as good (or better) on the insides??
ReplyDeleteI do love it! But I can't always get myself to do it, LOL!
Delete