Saturday, February 15, 2014

More Secret Knitting

I spent the last two weeks knitting like crazy, but didn't want to let on because I was making a secret Valentine for my sweetie!

I've had a bunch of burgundy Valley Yarns Northampton in my stash for a year or so, left over from my Allegheny dress.  I'd been planning to use it to make Hubby a sweater but hadn't gotten around to starting it.

Then, a few weeks ago, he was wearing the charcoal grey Seamless Hybrid with Shirt Yoke (Elizabeth Zimmermann) that I made him several years ago.  And he said to me, "Where's my burgundy sweater?  Don't I have a burgundy sweater like this?"

Now, I hadn't told him that I was planning on making him a burgundy sweater, but when he said that, I decided to get on with it, and set myself the goal of finishing it by Valentine's Day.  I wasn't sure I could finish it in time, but with a couple hours of knitting each day while he was at work, I managed to get it done.

 
I finished it on Wednesday, which was a good thing as for once I did a wet-block and needed the extra time for it to dry.  Because of my fast and furious knitting, my tension wasn't as nicely even as it could be, so I knew that my normal steaming wouldn't even things out enough.  Because I hate shifting a huge mass of wet knitting around, I blocked it in my front-loading washing machine, using the 30-minute cold water pre-soak cycle.  Once that cycle finished, I turned the machine off, then turned it back on and did a drain and spin on the lowest spin speed.  It took about a half hour for it to spin out, but once it was done the sweater was barely damp - much more water had been extruded than if I'd dried it with towels.


I really love this EZ design.  It's a combination of a raglan and a saddle-shoulder sweater, with the saddle continuing across the upper back to create a yoke.  The body and sleeves are knit in the round, bottom up, then joined at the under arm.  At that point it's a LOT of knitting on the needles, but the decreases are fairly rapid, and once you get to the saddles it's very quick.


When I picked up my neck band stitches, I purled the first row before starting the ribbing, just because I like the way it looks.


The paired decreases for the raglan on this sweater were done with a knit stitch in between, but on his first sweater I did a *slip, knit 2 together, pass the slipped stitch over* double decrease, to create a more dramatic line at the raglan.  I like both looks.

We don't normally exchange gifts on Valentine's Day, so Hubby was really surprised when he got home and found a present waiting for him.  When he opened it and saw his new sweater, he was so pleased that he put it on immediately!  Which made me really glad I'd spent the last two weeks knitting like a crazy woman.


Making anything for my honey is a high-yield activity.  He wears the things I make him far more than I wear the things I make myself.  I should probably make him more stuff . . .

Thursday, February 13, 2014

Some Jeans Notes

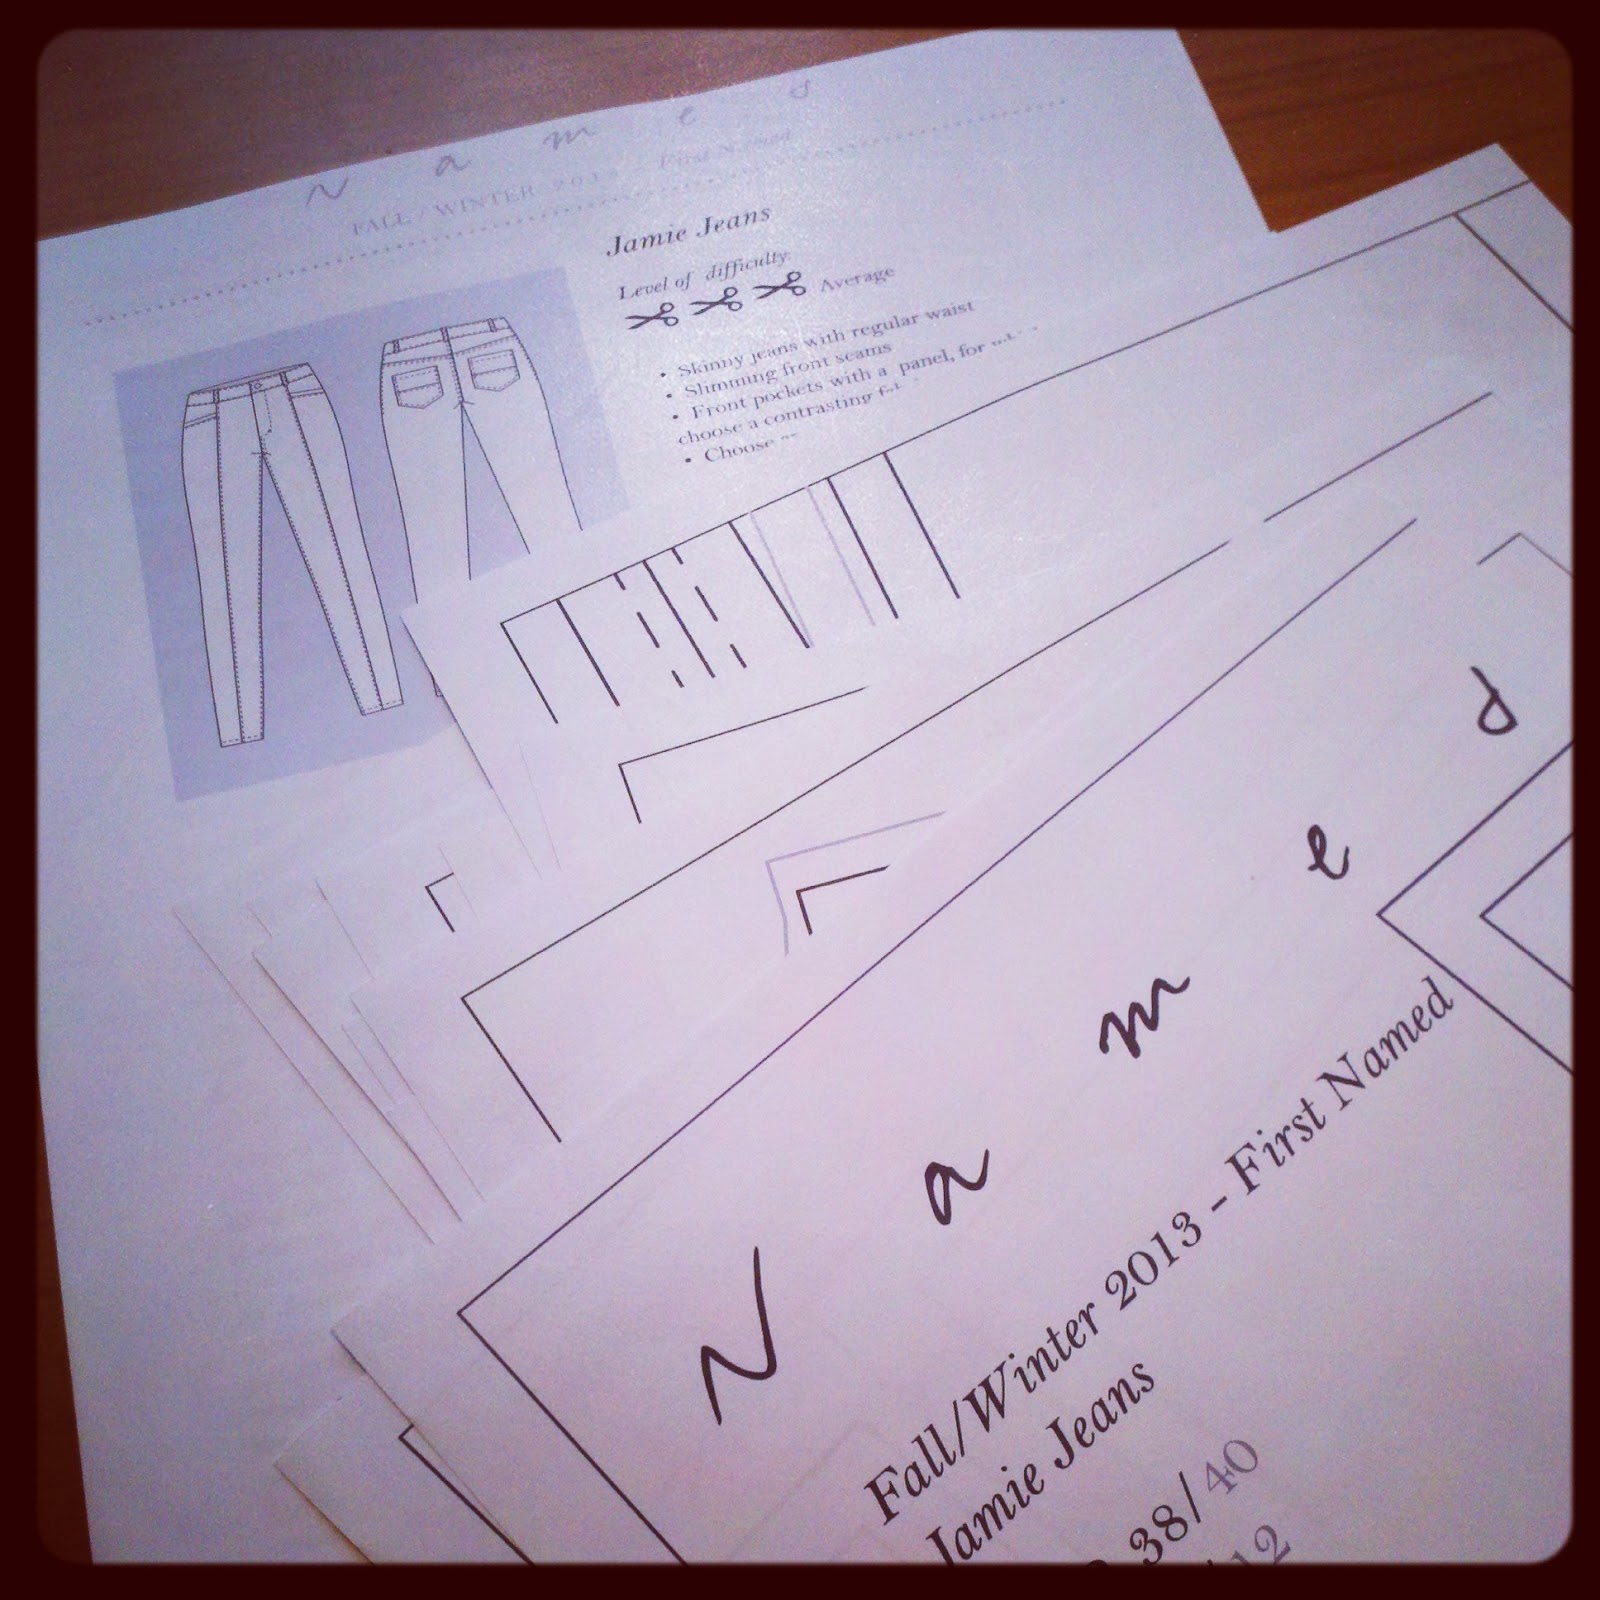
So, if you remember, one of my goals for this month was to make the Named Jamie Jeans.  And I've been working on it pretty consistently since the beginning of the month.  But today is the first day I actually sewed on them.

I had a couple set-backs.  I first traced out the size 38 pattern because I had some confusion about what size to make.  The confusion was actually more like denial I think.  I was measuring my "hip" - NOT the widest part of me.  After taking some flat pattern measurements, I realized that was never going to work.

So I retraced the pattern in a size 40, because I've purchased size 40 clothing before.  For that round, I even went so far as to pin it all together to do a tissue fitting.  Go ahead and laugh - I deserve it!  It didn't dawn on me until I was struggling to get my paper pants past my calf that stretch denim stretches - paper doesn't!  D'oh!!

I did a few more flat pattern measurements, and compared the pattern to my measurements and some jeans I have that fit me well in the hip.  I started watching the Pants Fitting Craftsy class.  I started reading Pants for Real People.

And then I got real, and traced out the size 42.  Some more measurements and comparisons confirmed that this size and shape is very close to my RTW jeans.  So I'm hopeful that the fit refinements I have to do will be to tweak the things I don't like about the jeans I have.

While all that size-choosing was going on, I had a fabric crisis as well.  I fell in love with the "muslin" denim I'd bought, and anticipating a fitting nightmare, decided to order some extra from Fabric.com.  I got 4 yards each of 2 different weights, thinking that I'd have enough to make 4 muslins if necessary and then the first fabric I bought could be the real thing.

Yesterday I went through the teeeeeedious process of prewashing that 8 yards of denim - twice (PFRP recommends thrice, but I just didn't have it in me), and then ironing it.    And when I went to cut out my pieces, I found that they didn't fit on the fabric as shown in the layout.  And I'm not really sure why - my fabric is 52" wide, more than enough to go around my hips.  I haven't measured it yet, but could I really have gotten that much shrinkage?  So, I had to alter my placement, which meant that I won't be getting 2 pair of jeans out of that 4 yards.  Good thing I bought extra! 

I also found that while the pattern says what length of fabric to get, it doesn't mention a width, although I suspect most denim comes in 52" - 54" widths.

Anyway, I cut out all my pieces yesterday, to get ready for sewing today.


I decided to sew this heavy weight denim on my Kenmore rather on my Janome - it's just a sturdier machine.  And I'm pretty sure that was the right choice.  I didn't really have any trouble, except when I was attaching the back pockets.  The denim needle went through everything nicely.  I'd heard that it's best to use a topstitching needle for the topstitching, and that's where I had trouble on the pocket.  On my first pocket, the needle kept getting hung up on the thick areas.  I couldn't even move it - I had to cut the top and bobbin threads, remove the bobbin and the race and pull the thread free before I could lift the needle.  I had to do that 4 times on the first pocket, and I'll have to go back and hand-sew those ends in.  However, I finally realized that the denim needle might work better in that instance, and once I switched, things went much more smoothly.


The process for this pattern is sew a seam, finish it (on the serger) then press to one side and topstitch.  There's a lot of back and forth between machines, needles and threads - and for me, between floors of my house, as I sew downstairs but iron upstairs.

So I decided to sew as many little seams as I could with the denim needle and regular thread, then finish them, take them upstairs to press, and come back down, switch to the topstitching needle and topstitching thread and then do all my topstitching.  Because I was working on so many steps at once, I crossed out each instruction as I finished it.


Also, you can see that before I even started, I highlighted all the names of the pattern pieces and wrote their numbers next to them.  I did this because I noticed that the names on the pattern pieces themselves are sometimes different from the names used in the instructions, and I didn't want to have to stop working and figure out which piece I needed as I was sewing.

Here's a pile of pieces that have been seamed and finished, and are waiting to get pressed:


That pattern piece for the slanted pocket edge has some very fiddly angles to cut around.  I chose not to do it.  Instead, I cut a piece the same width, but about an inch longer.  I sewed it to the pocket and leg front, and then trimmed away the extra after it was all put together.  Much easier.


So, my next step is to put the legs together.  I'm planning on basting it all together with the seams on the outside, to make fitting adjustments on my asymmetrical body easier.  I probably won't be doing that until the weekend though. 

Monday, February 10, 2014

Two Shirts with Yellow

Hi kids!

I'm a little under the weather today - I think I've got a cold coming on.  But had a very productive sewing weekend, so I decided to get over myself and take some pictures while the sun is out.

I've been on a mini-mission to go back and adjust some of my favorite patterns, now that I have a slightly better handle on fitting.  One of these I mentioned last week in my plans for this month:  the Archer shirt.  I promised I'd only make a couple adjustments, but in the end, I did just one:  the forward shoulder adjustment.  After wearing one of my Archers last week, I felt that this was the one adjustment I needed above all others.  (Of course, I'd already adjusted the button spacing and graded out two sizes at the hip in my previous version, and I kept those adjustments.)  And I'm so glad I stopped there - I'm declaring this adjusted pattern perfect now.  I'm so happy with how the fit turned out:  it's comfortable and slightly slouchy, and the forward shoulder adjustment took care of the twisting of the sleeves I was getting, as well as the tendency of the shirt to drift toward the back.  Now that I've got this pattern the way I want it, I'm going to be making LOTS more of these.


Normally I wear shirts like this with the sleeves rolled up, but I'd done such a nice job ironing it, I didn't want to get it all wrinkly! 

You can see here that I've still got a tiny bit of pooling in the lower back, but it was interesting to me that the forward shoulder adjustment seemed to take some of it away with no swayback adjustment.  I think for the future I won't bother with the swayback - as I said, I like it now how it is, sort of slouchy.


One of the reasons I'd put off adjusting this pattern for a while is that the instructions in Fit for Real People didn't make a lot of sense to me.  The book recommends just moving the notch for the shoulder forward on your yoke piece.  On me, the yoke didn't even extend up and over the top of my shoulder, so I wasn't sure how well that would work.  I also wasn't looking forward to removing the seam allowance from the front of the sleeve and adding it to the back.  I stewed on it for a while, and googled around for some other methods.  I landed on this forward shoulder adjustment from Heather B, which also didn't make much sense to me - it seemed like it would angle the yoke forward too much, western-shirt style.  But I decided to give it a go, and it really worked well.  Also from Heather B, I learned this sleeve cap slide, so I was able to avoid the dreaded seam-allowance removal+addition.  So thanks, Heather B!

Here's a better look at the shirt itself - how lovely is this fabric?  I got it probably a year and a half ago from Fishman's, one of my local fabric stores.  It's a super-soft cotton lawn.  It just feels amazing against the skin.  And although it's grey, it's a very soft blue-grey, broken up by the light mustard yellow.  I just love it.


Encouraged by my Saturday success, yesterday I decided to do the same forward shoulder and sleeve cap adjustments on another old favorite, the Lisette Continental blouse (Simplicity 2059).  I've made this top three times before, and I wear all three of them often.  Again, a loose, slouchy, smock-like design - the type of top I reach for when I want to be cute but comfy.  My three older tops fit pretty well, but had the same problem of drifting toward the back, inching up my neck.  I'm happy to report that this adjustment has taken care of that, so this is another pattern I'll likely be making up again.


I found it very interesting  to see how the shoulder seam looks on the hanger:


It looks like it angles severely toward the front, but on my body, it exactly follows the line of my shoulder.  BTW:  on both these shirts I did a 1/2" forward adjustment.

This top was also made with a piece of fabric from Fishman's - a lovely remnant, bought at the same time as the fabric above.  It's a subtle plaid of the palest grey and almost acid yellow, another very soft cotton but slightly heavier than the Archer fabric.  Such a pleasure to wear. 


I didn't have enough of this piece to worry about matching the plaid, but it came out alright, and it's so subtle anyway that it doesn't really matter that it's not perfect.

Remember when I was talking about how I hang my mending on my dresser to get myself to do it?  Well, here's a little secret:  I also hang my most recent makes there, so I can admire them for a few days before they go into the closet :-)  I added a pretty vintage scarf in similar colors to the Continental blouse.


Do you guys admire your recent makes for a while before putting them into the closet?  I thought about wearing one of these today, but I have some messy work to do, so I'll just have to keep popping in to look at them.

Wednesday, February 5, 2014

The Secret Hat

A while back I mentioned that I'd been knitting, but couldn't share the project as it was a gift.  Well, it was gifted over the weekend, so now I can share!

In December, my friend gave me Vogue Knitting:  The Ultimate Hat Book.  She'd also bought herself a copy, and as we like to do, we went through it together over Skype, looking at all the designs and deciding which ones we like best. 

We both have birthdays this month - hers was at the very beginning and mine is at the very end.  So we decided to do a hat exchange for our birthdays.  We each chose 3 designs from the book as possibilities.  Then it was up to the other person to pick which one to make so it would be a surprise.  So here is the hat I made for Sally:


I was surprised when she told me she likes pillbox hats - we've been friends for almost 15 years and I didn't know that!  I had a hard time deciding which of the designs she chose to make, so in the end I took the book to the yarn shop with me to see what I could find, and let that determine which hat to make.  I ended up with this lovely yarn from The Fibre Co.


This hat was really fun to work, and of course the yarn was luscious.  Most of the hat is a simple two-color stranded design, but there are a couple of interesting features:  a Latvian braid at the cast-on edge, and some tucks to give the hat a bit of firmness and structure.


You can see that there's some tweediness in the yarn, and the silk gives it a bit of sheen.


Because I made this hat with a wool/alpaca/silk blend, it's a bit less stiff than the original, so it doesn't stand up on its own.  But it fits her head perfectly, and actually comes down over her ears to give some extra warmth.


As usual, I steam-blocked the whole thing after I finished the knitting.  This was a very quick and easy project - I think it only took me three or so days to knit.  Really, choosing the design and yarn was harder!


In a few weeks, I'll be getting my own hat.  I can't wait to see which one she chose - I couldn't narrow it down to three choices, so I gave her a dozen!

Monday, February 3, 2014

Stash Diet Round Up: January

Welcome to the first Stash Diet Round-Up!  Here are the end-of-month results I received in my mailbox this month.  There are even more FOs over in the group pool - lots of people got right to business this month using stash.

First up is Stephanie, who used up a whopping 6 yards of fabric for making her first Renfrew:  3 for the muslin and 3 for the final product.  Way to go, Stephanie!


How cute is Ela in her new shirtdress?!  She has a small but beautiful stash, and managed to work up this sweet dress this month - with pintucks AND plaid matching!


My co-organizer Andrea knocked out two Stash Diet makes this month:  her Hemlock tee and her Sheath dress.  Both from fabrics she bought here in Chicago when she visited in December!


Also from Toronto, Dieter Sara used up both yarn and fabric stash this month.  No hard numbers here, but she seems happy with her loss!  She made LOTS of hats, and a super cute Plantain:


Kristin knocked it out of the park this month by using up 8.5 yards of fabric from her stash.  Her daughter was the beneficiary of a lot of this sewing, receiving some pajamas, shorts and a cute tunic:


Kristin also spent a lot of time perfecting the fit on her Alma blouse, and it really shows in her beautiful FO:


 She's currently doing the same for the Lady Skater Dress.  Here's her first muslin:


I was experiencing heightened SewJo for a good part of the month, so I managed to use up 7 of my stashed fabrics!  I made 6 finished items from the stash, and used one piece as a muslining fabric for my pencil skirts.  Too lazy to put all the links - you'll find them in my 2014 Sewing FOs page up above :-)


That's it for this month.  If you wanted to be included but didn't send me your links and photos, you can go ahead and do that and I'll add them on.  See this post for details.  Otherwise, onwards and upwards!  Or should I say, downwards?!


AND THE ADD-ONS!

I've gotten a couple more emails, and am working on updating this page.

Karen over at Taivahalla reports the following:
4 pieces of clothing
6 yards
No purchases
Way to go, Karen!
 Shar (my jeans buddy) put together this nice collage of her four makes from the month - two of which also qualified for Jungle January!  She told me earlier that having to work from stash inspired her to use up that pretty plaid in the lower right corner, which had been languishing for a while.


And Becky used one looooong piece of stashed olive green twill to make two garments:  a pair of pants and a skirt!


Sunday, February 2, 2014

Big Plans

I've got big sewing plans for the month of February.  I'm determined to make:

1.  An Archer shirt with some fitting changes - just a couple, I swear!
2.  The Victory Patterns Lola dress, and
3.  The Named Jamie Jeans!


Like a lot of you probably did, I got inspired when I saw Winnie's jeans a week or so ago.  Sewing jeans wasn't really anything I aspired to; but sewing pants is on my list of goals for this year.  Winnie's jeans got me to thinking:  I don't actually wear pants a whole lot.  But I wear jeans All. The. Time.  And jeans are a type of pants!  Why not make something practical for once?

I was talking it over with my friend Shar, and it turned out she was also inspired by Winnie's jeans.  So we concocted a plan to sew them together this month.  A sort of virtual hand-holding and mutual cheering section, if you will.  And then we decided to invite our other friends to join us.  And a few of them took the bait!

So, because EVERYTHING is better with a list, this morning I typed up a 4-week schedule checklist.  And I thought I'd share it with you guys in case anyone else likes that type of thing :-)  Here it is.

This isn't really going to be a sew-along in the sense of tutorials and such.  But I will likely be posting progress pics.  Four weeks is really more time than I need to make a pair of jeans, but since I have the other two large-ish projects that I want to do, I decided to take this one in steps.  Breaking big tasks down into chunks always makes things easier for me.

Any of you care to join us?  While you don't have to use this particular pattern, it has been re-formatted in the last few days, which is really nice.  It now has illustrated instructions and all sizes from 34 - 44 EU included.

And if you've already knocked out some jeans, do you have any tips for us? 

Friday, January 31, 2014

Turn of Events

I just finished my third Pencil Skirt, which I do believe I'll don to go to a jazz concert tonight:


This one is made from Anna Maria Horner "Turn of Events" velveteen.  As I was cutting it out yesterday, I posted a picture to instagram, saying "I love this fabric."

And as I was working on the skirt, it occurred to me:  yes, I REALLY love this fabric.  Look:


I think it's funny that I didn't realize until halfway through making the skirt that this is the third garment I've made from a "Turn of Events" fabric! 

First was my Continental Blouse, made from cotton voile in December 2011.  I still wear this fairly often. 

Then there was my first coat from February last year, made with home dec weight cotton sateen.

And now this skirt, made of cotton velveteen.  So yes, it's fair to say I love this fabric!

And I think I'm ready to move on from pencil skirts now.  At least for a while :-)  I've got two more cuts of AMH velveteen that are destined to become a couple more pencils, so it may be a short-ish break.