
Yesterday I finally had an afternoon free to get back to my coat. It had been a full week since I'd touched it, and frankly, having 3 sewing UFOs at once has been stressing me out! But yesterday I was able to get this one to a point where the pieces are no longer strewn on the guest bed. I'm quite happy about that!
The week before, I had finished sewing together the second side and sleeve seams and constructed the collar. Because the coat is designed with a side body panel and an under and upper sleeve, the place at the front and back armhole where these three seams intersect is kind of tricky. I noticed a marked improvement by the time I got to my fourth one and had figured out that my chances of success were heightened if I marked the seam allowances on the inside. Here's what it looks like outside:

I'm really impressed with how well this particular Burda pattern is drafted. The under collar piece is actually smaller than the upper collar, as it should be to roll the seam under and get a nice curve around the neck. Based on my experience sewing from the Burda magazine, I'd assumed the pattern would have you cut two of the same piece for the collar, so I was pleasantly surprised. The pattern also includes separate pieces for the lining, saving you the trouble of subtracting the facings from the front and back pieces.
I spent a lot of time on the collar to get it just right, marking my seam allowances around the curve and doing a fair amount of hand-basting.
 |
| I put my chalk pencil into one of the spaces on my 5/8" marker. |
 |
| Note how the seam naturally rolls under. |
 |
| Completed collar. |
So that was as far as I got last week. Yesterday I basted the open edges of the collar together in preparation for inserting it onto the coat.

And then I spent a very long time carefully basting the collar to the neckline, stitching over it, then attaching the facings. At which point, it really started looking like an honest-to-goodness coat! I'm so happy with how the collar looks:
 |
| I love the nice roll around the neck. |
The next thing I did was to cut out my lining fabric. I'm using a cotton voile as a lining. In truth, it's probably a little too lightweight, but I really didn't want to make this coat too warm. I am a lady of a certain age, after all. We're easily overheated!
 |
| The fancy pattern weights. This one is for Carmela! |
Once those pieces were cut and marked, it was time to construct the pockets. These are done inside-out and then turned as you would a bag - you leave a little opening which is then invisibly stitched closed by hand.

 |
| See? You can't even see the stitches! |
 |
| Pretty proud of my curves too. |
The last thing I did was to baste them onto the coat. My next step - this afternoon, I hope - will be to edgestitch them on.

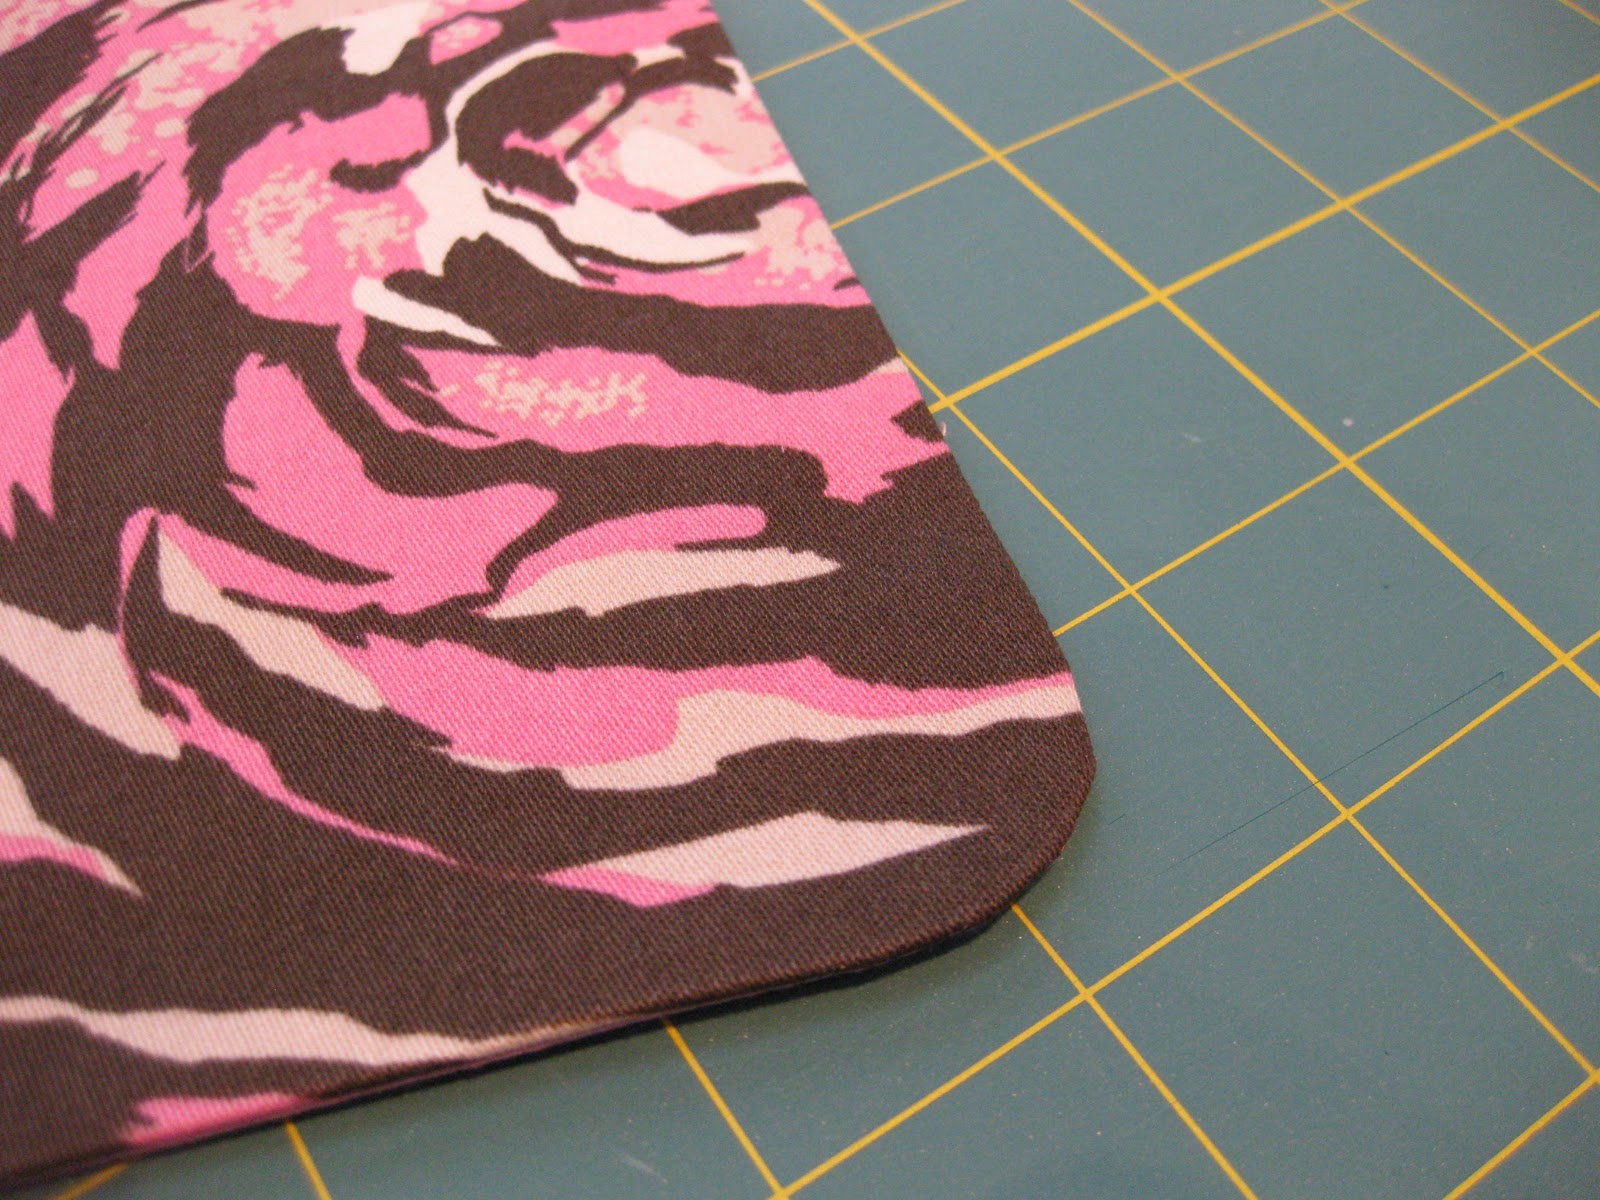
I realize that the fabric is so busy, you sort of don't know where to look. Just my style! Here's what I've got so far:

I think I'm going to end up having my buttonholes on the left, because I like the arrangement of the flowers better that way.
I'm getting very near the end. Once the pockets are attached, I'll just have to hand stitch the hems, then construct and insert the lining and make the buttonholes. I thought about doing bound buttonholes, but one of the reasons I bought my new machine is that it makes a few different buttonhole styles, and I'm anxious to try them out.
Back to work! I have to construct my lining before the marks I made with the Mark-B-Gone disappear!
this is looking great! all that basting really pays off in getting everything perfect. nice work on the collar! i look forward to seeing the finished product!
ReplyDeleteThanks, Lisa! I really enjoy hand stitching, and it definitely keeps things on track better than pins sometimes.
DeleteI love reading your sewing 'episodes'! I can't contribute a damn thing, but it is so interesting to see all the gear I didn't even know existed for making sewing a bit easier! Mark-B- Gone! FABULOUS. ;-D
ReplyDeleteYes, there is a lot of gear! Fun stuff, too!
DeleteIt's looking promising! I have a small question what is the size and the weight of your pattern weight.Because I have gone to a hardware shop and the biggest seemed really small and light to be usefull, but maybe It was a wrong impression.
ReplyDeleteEach of these washers is 2" (5 cm.) in diameter and weighs 1.25 oz. (35 g.). For some reason they're called 3/4" washers! Hope that helps!
DeleteThat is looking great! The curves are perfect and the stitching is invisible:)
ReplyDeleteI'm so scared to make a jacket lol
I was scared too, which is why I pushed myself to do it! But it really hasn't been that hard!
DeleteGood to know! :)
DeleteWow, that looks amazing! So impressive, your corners and curves are perfect. I'm just glad my coat is collarless. (I really need to get back to my muslin!)
ReplyDeleteIt wasn't so bad. I just took the collar an inch at a time, constantly adjusting the fabric so I didn't catch anything in. But I was pretty relieved once it was done!
DeleteGreat story in pictures, you make sewing a coat sound like an easy fun game with gorgeous outcome :) Your coat is looking perfect!
ReplyDeleteThanks, Carmela! It does feel like a little game - so far I think I'm winning!
DeleteI love seeing it come together!!! Buttonholes bother me - they're never as neat as I'd like... tips please :)
ReplyDeleteYou know, I can see this coat with a big floppy black flower brooch on it and a black fedora.
We'll see about the tips. Although I've had this machine about 6 months, I have yet to do a single buttonhole with it! It's very different from my other machine, so I'll be practicing on scraps a lot before touching the coat!
DeleteAnd there WILL be a hat! More about that later!
This is beautiful! Can't wait to see it completed! And the different buttonhole styles - what machine do you have?
ReplyDeleteThanks, Lisa! I have a Janome Magnolia 7330, and it has three different styles of buttonholes. I'm planning on using the keyhole-style one. Fingers crossed!
DeleteIt's looking so great. It's going to be a great item for the spring; so bright and cheery.
ReplyDeleteThank you, Mela!
DeleteYou are a fabulous seamstress! Each piece is so pretty.
ReplyDeleteOh and Mama, you are also inspiring me to take sewing lessons from my mum. I told her I had to start from the bottom tho, like rectangles - mats so I have a foundation to build upon.
ReplyDeleteOh cool! You could make some pencil cases for the girls too!
Deletep.s. Thank you!
Delete