In the last week, I've added three issues to my collection of Rowan Knitting Magazine:
On top is issue 53 - for spring and summer. This one is causing something of a kerfuffle on the
Rowan Love ravelry group. It contains a large amount of intarsia patterns with dropped shoulders, which is making folks kind of grumpy! On my first pass I found exactly one pattern I might consider knitting. Rather a disappointment.
I've been slowly adding to my collection over the last couple of years, in hopes of making it complete. A couple weeks ago, I found two early issues at a relatively reasonable price, and went ahead and ordered them:
 |
| Rowan 4, from 1988 |
 |
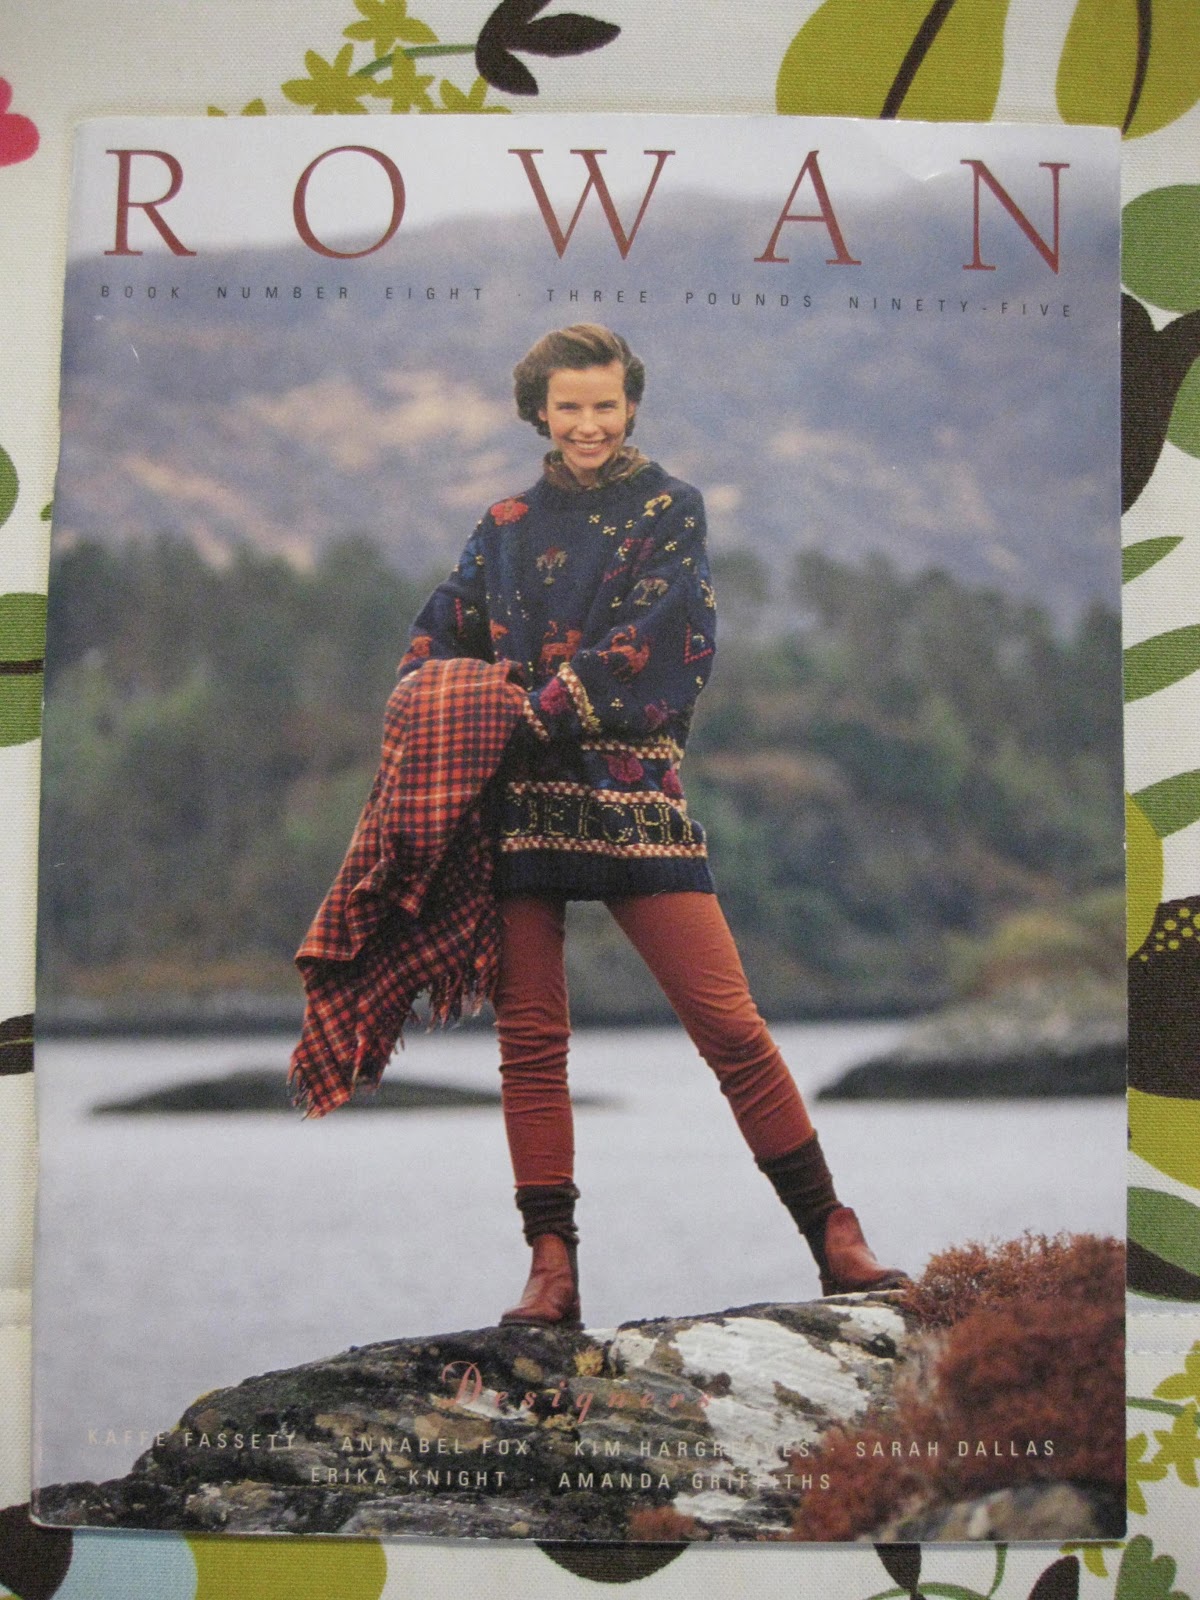
| Rowan 8, from 1990 |
As you'd expect, there's a whole lot of oversized, drop-shoulder action going on in these two issues, as well as intarsia and stranded knitting which contains more than 2 colors per row. Example:
 |
| Yikes! |
Not super useful at the moment without a lot of alteration. But a collection isn't really about being useful, is it? I did fall in love with this ski sweater from issue 8 though:
I've been subscribing to Rowan since issue 21 (1997), and have managed to fill in over the years to the point where I'm only missing 6 issues: the extremely elusive numbers 1 and 3 (when it pops up on Ebay, #1 sells for well over $100), along with numbers 5, 10, 12 and 14.
Today I decided to wear the first Rowan sweater I ever knit, from issue 21, the first magazine I received as a subscription. I made this probably the following summer, so around 1998, and I still love it. I remember finishing it up on our trip to Turkey, and walking to the little fabric shop with my mother-in-law to find the buttons for it. Good times . . .
 |
| please excuse the mirror pic - it's all I have time for at the moment! |
Yeeeeeeeears ago (1991) when I moved to St. Louis, there was a craft store called Leewards. I'm pretty sure it was a chain, although I never saw one anywhere else. It was similar to a Michael's or Hobby Lobby. I would regularly find balls of 100% wool (even Shetland), usually German or Russian brands, for ONE dollar! Every time I saw some in a color I liked, I would buy 15 or 20. This sweater is made from one of those yarns. It was a sad day for me when they closed their doors.
You can see from this and the first picture that this is a fairly boxy silhouette, as per the norm of the day. I love the diamond stitch pattern, and my favorite part of this sweater is the notched collar.
So impeccable. Any guesses as to the designer? That's right: Kim Hargreaves! I'm starting to think I should make her her own tag, her name comes up so often here!
Are any of you Rowan collectors? I'm curious if the back issues are easier to find in the UK than they are here. It seems that the early issues that come up on Ebay are often in the UK, and it makes me wonder if they surface in thrift shops or garage sales. Do they do garage sales* over there? Please enlighten me!
*Garage sales seem to me to be a part of American culture, but I'm not really sure if this is true! Over the summer, we took Niecey-poo to a garage sale, just as a point of interest about American culture. She wasn't overly impressed! They don't have garage sales in Turkey. Because mostly they don't have garages, at least not where our family lives!