Thursday, February 28, 2013

COAT!!!!

I finished my coat yesterday!!  Happy dance!  Guys, I love it SOOOOO much!  How much?  I've already ordered fabric to make a second one, this time in a solid color.

The coat has been mostly finished since Sunday, when I inserted the lining and did the final hemming.  All that remained was to make the buttonholes and buy some buttons, but I needed a little time to think about it first.  All along, I'd had the idea that I wanted to use fairly large buttons, 1.5 - 2 inches.  But when I sat down to learn how to use the buttonholer on my new Janome, I was a little dismayed to discover that the largest it can make is 1 inch.  At that point, I started wishing I'd opted to make bound buttonholes, but of course it was too late. 

Finally, I decided to make a couple samples of the largest keyhole buttonhole I could make and hold them up to the coat.  That convinced me that a larger button would probably have ended up looking a little clownish, so I went ahead and marked and made the buttonholes.  But not without some trepidation!  Despite my many trials (all of which worked out fine), I was really nervous that I might ruin my coat at this very last step - so nervous that my palms were sweating!  But everything came out fine.


Cutting the buttonholes open was not scary at all, thanks to the buttonhole cutting set my mom gave me for my birthday!  Thanks, Mom!


Here is a close-up of the buttons I got, which are just over an inch:


And here is the coat on its hanger:


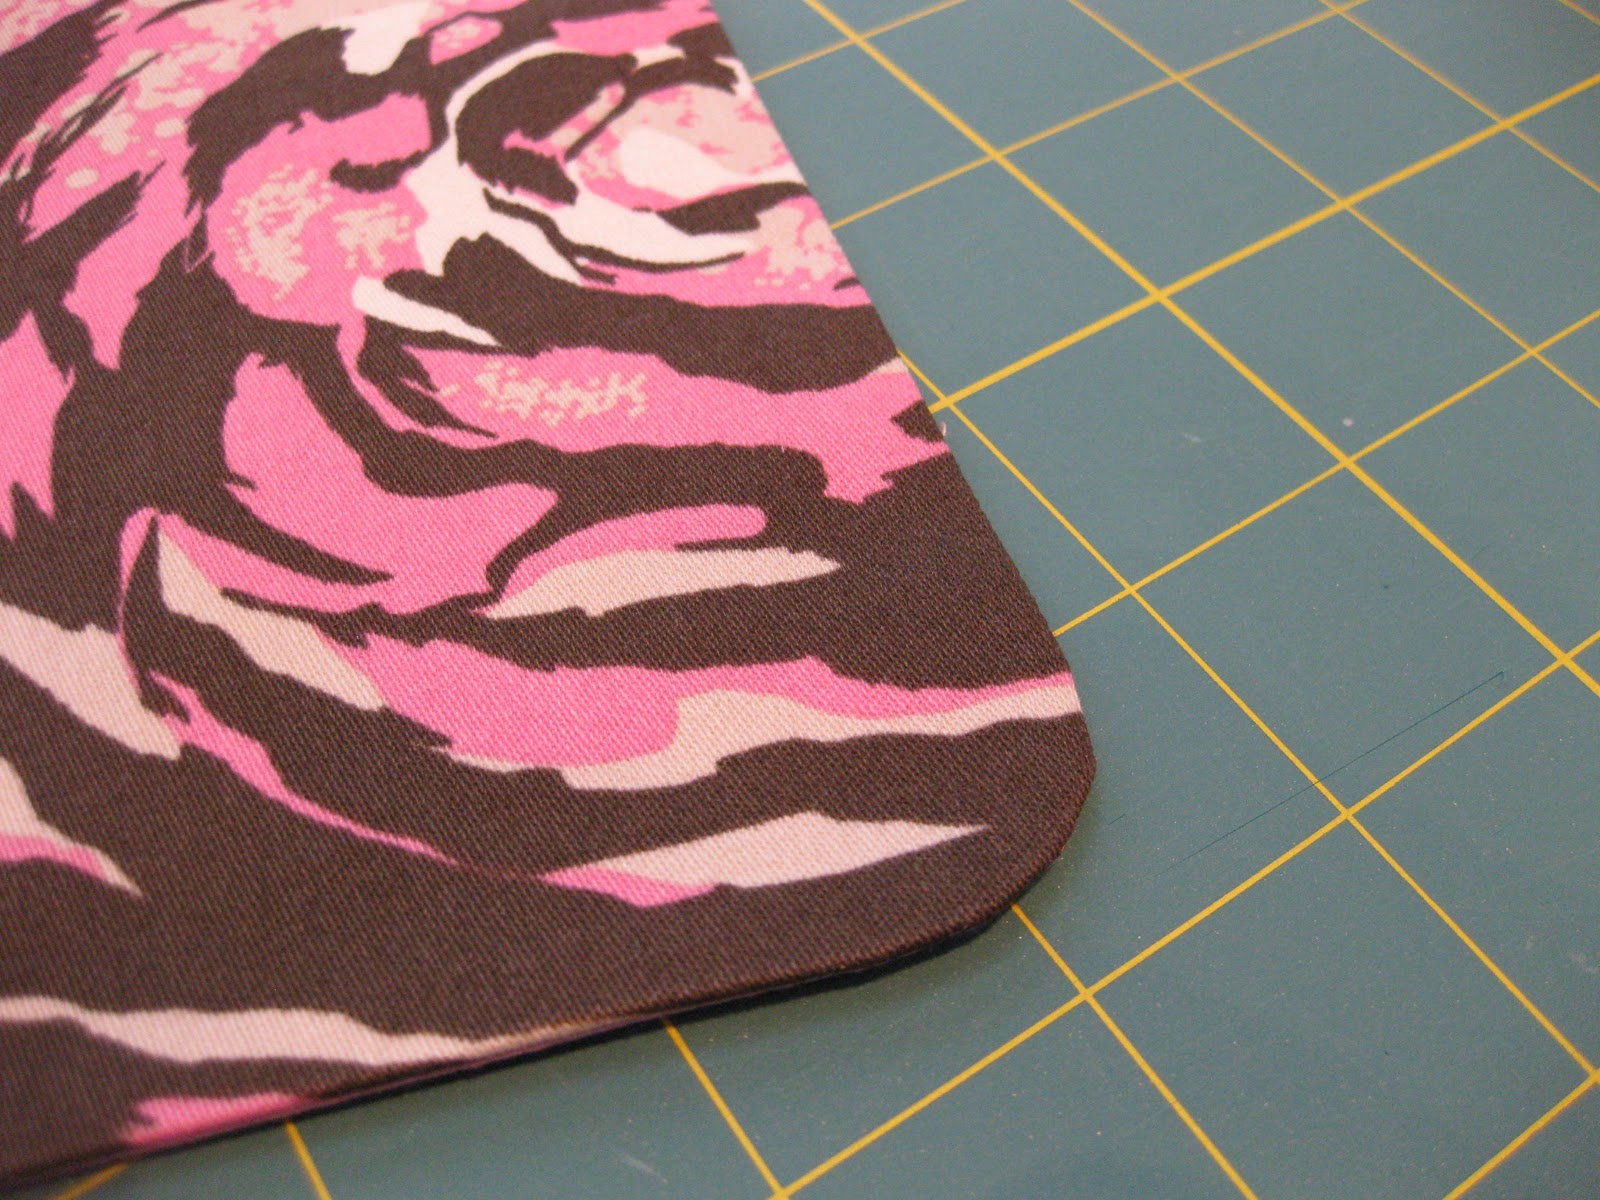
Here are a couple pictures of the lining, which is a solid colored cotton voile:


I'm glad I took the time to finish that edge where the front facing folds back - it looks so neat.  The lining was one of the things that scared me about making a coat, but it really wasn't that hard!

Altogether, this coat took me almost exactly three weeks to make, but I kept track of my work and I really only spent about 20 hours total.  And my total cost was $76.67, which doesn't include materials I had on hand, like interfacing.  A little more than I'd planned to spend, but totally worth it. 

A year ago, I would have said that making a coat was beyond my capabilities, and maybe it was at that time.  But this project was a real confidence-booster.  I know I've said it before, but I think this pattern is a really great pick for a first coat.  In case any of you are interested in this pattern, I wanted to give a little run-down of why I like it so much:

     * separate pattern pieces for the lining
     * many options:  long or three quarter sleeves, long or shorter body, patch or in-seam pockets, collar or collarless
     * easing at bust for the three smallest sizes, and bust darts for the other sizes
     * the top sleeve piece is cut on the bias for ease of movement
     * drafted-in ease pleats in the lining back
     * clear and well-written instructions - they don't hold your hand, but if you've been doing some sewing you'll understand them
     * seam allowances are included, and even the hem allowances are marked

There were also a couple things I found confusing:
    * the side body panel is slightly lower at the front than at the back, so it does make a difference which way you put this in.  Unfortunately, the markings for this aren't very clear, and I did end up putting in one of them in backwards - and not realizing it until the seam was already clipped.  Since my lining was so lightweight, it didn't really affect how my coat hangs, but I was pretty disappointed about it because I spent SO much time and care constructing this garment that I wanted every last bit to be perfect.
     * the notches for the sleeve seem to be on the front, rather on the back like they are with American patterns, which means you have to pay a little closer attention

Overall, this pattern is a winner for me.  I'm sort of wishing I'd traced it onto my precious Swedish Tracing Paper, because I can see myself making this one again and again!

Have I teased you long enough?  OK, here are some pictures of it on me:


It feels so great on - just the right fit and weight.  Although my body measurements put me in a size 38 European, I chose to go down a size to 36.  I think a drop-shouldered, a-line shape like this can easily be overwhelming on a short, small-framed girl like me.

Love the pockets!

Back view.  Room enough without being overwhelming.

Buttoned up.

And finally, here's the whole ensemble:

I need to go someplace fancy!

I apologize for the rather drab Grey Wall photos.  I was so excited to get this up!  Never fear - I will take some more pictures when I wear it out into the world.  And this baby will be going out into the world a lot this spring!

Wednesday, February 27, 2013

A Spring Clutch

Recently, I was able to put my hands on some lovely, buttery soft candy-colored skins to make some more clutch purses for spring.  I cut out the first one the other day in hot pink, and sewed it up and glued it into the frame this morning.


It would appear that I haven't gotten over my obsession with these things, despite making four of them for myself last year* (and a few more as gifts).  However, previously all my skins were natural colored - a girl needs little bags in bright colors too, right?  And this one is meant to go with my new coat . . .  These little bags measure about 9" x 5", and are just the right size for carrying the essentials when going out.  I have to credit my dear friend Andrea again for teaching me to make these - Thank you!  If you go on over to her place, you'll see some gorgeous clutches.

The lining is one of the AMH Field Study prints left over from my quilt.  This one is called "Sinister Swarm," but I think it doesn't look  the least bit threatening.  Unless those are wool moths.


Together, I think the pink leather and the butterfly lining make a very spring-like clutch.


I've got two more skins, in  orchid and yellow, so you'll be seeing more of these soon.  And likely more of those tassel keyrings from the leftovers!

Sigh.  Pink just makes me happy!


*If you want to see the other ones, click on "clutch purses" in the category cloud at right!

ETA:  Jenny's comment made me realize that I'd forgotten to link to where I got my supplies.  I buy my purse frames from an Etsy vendor called Upstyle.  The owner, Robin, is in San Diego and is very helpful.  She has several different styles and colors of frames, as well as excellent patterns which you can buy separately or get free with the purchase of frames.  I've found her materials to be of very good quality and reasonable price - these 8" x 3" frames are about $5 each for me because I buy 5 at a time.  The more you buy, the bigger the discount!  Robin also ships very quickly - I usually have my order within a few days.

Etsy is also a great place to look for leather, but these clutches can be made with fabric outer as well, as you'll see on Andrea's blog and in the Upstyle shop.

TIMELY UPDATE!  I just came across this nice little (and free!) tutorial for making these clutch purses.  This is different from the way I've been doing it, and I'm interested in giving it a try - it's a  more squared shape.

Tuesday, February 26, 2013

Crazy Hat Lady

Have I ever mentioned that I love hats?  I have quite a collection, even if you don't count the handknits. 

A few weeks ago when I cut out the fabric for my coat, I had quite a bit left over.  I started to formulate a plan to make a matching hat, and last week I bought this pattern:

Burda 7117

This is a basic bucket hat with four different brim styles.  The pattern includes an impressive 5 different head sizes!


I have a smallish head, measuring 22 inches in circumference, so I went with the middle size (22 1/4") and the fit is just right.

On Sunday I decided to make the hat up.  It's a very simple pattern and only took me about an hour and a half.  (It does involve hand-stitching in the lining.)  I decided to make the hat with the closest-fitting brim, View D, so that I could play around a little with how to wear it.  I also think it has a retro vibe that goes well with the coat.  I opted to leave off the bow, because my fabric has enough going on!


Here's how my finished hat looks:

from the side

I used Pellon Shape Flex as interfacing to give the hat nice flexible body.  My good friend Andrea turned me on to this interfacing recently and I've been using it in a lot of projects.  It's what I used on the coat as well.  Thanks, Andrea!

Inside, I lined the hat with some leftover cotton/linen blend from my quilt:


lining and outer

And now, let me regale you with some orange bathroom mirror shots of the hat.  I like this shape because it can be worn in several different ways: 

Brim down:

I actually cut my fabric so the pink flowers would be on the side.


Brim up on one side:


And brim up on both sides, fedora-like:


from the side

And here's how it looks from the back with the brim down:

Quite a tall bucket!  That's what makes it look retro to me.

I'm really happy with how the hat turned out.  It was easy to make, fits well, and I think it looks pretty cute!  It will help keep my hair out of my face and the wind out of my ears this spring.  I'll definitely be using this pattern again - I'd like to try all four versions eventually.

It seems that it's not so easy to find sewing patterns for hats.  Do any of you have any others you can recommend?

Monday, February 25, 2013

Something small.

The other day I came across a pin for a tutorial for leather tassel key-rings.  "Hey!"  I thought.  "I have lots of leather scraps!"  Yesterday I cut some up to make this:


Isn't that cute?  It took me maybe 15 minutes (exclusive of the time I spent choosing which piece of leather to use).  I cut all my pieces with my rotary cutter and quilter's ruler, so I didn't have to mark anything on the leather.  I can see myself making lots of these with different colored leather scraps.  I think they'd make fantastic gifts.


Saturday, February 23, 2013

Two new knitting projects.

It's that awkward time of year:  winter's almost over, but spring is a long way off.  My mind is telling me to finish up those last few winter projects (both knitting and sewing) but my heart is telling me to start on the spring items.  What to do?  Cast on two sweaters:  one for winter and one for spring.

The winter knit is another Kim Hargreaves design:  Still, from her book Thrown Together.  Here's the lovely Hannah modeling this sweater in the book:


You can see my peacock blue knitting peeking out from underneath - the yarn is Calmer, and the color is called Preen.


My thinking was to make another Inverted Pleat Skirt to go along with this sweater, using this AMH Velveteen:

{AMH Velveteen, "Clippings" in Lichen}

But the tedious nature of working with velveteen isn't a distant enough memory to motivate me to do it again.

And here's the spring sweater:


This one is Geno from Rowan 43.  I've had this shade of Rowan 4 Ply Cotton in my stash for years, and have waffled about what it should become.  I started Ava with it last spring, but decided halfway through the back that the sweater wasn't something I'd really wear after all.  Geno has been in my queue for a long time though, and I decided it would look very nice in Bloom, which is a more faded red than my camera wants to show.  It's relatively easy knitting too:  a short-sleeved cardigan with stockinette back and sleeves and lace fronts.


To go with it, I'm hoping to make this skirt, circa 1962:


I've traced out the pattern for the darted A-line skirt shown in the middle.  According to my flat pattern measurements, it should fit nicely, but you just never know.  (At least, I never know.)  I don't want to ruin the lovely fabric I've bought to make it, so I'm going to construct the lining first and see how that fits before cutting my fashion fabric.

{Dear Stella "Tuscany" in Taupe}

This skirt will be such a beautifully simple and quick project - a nice palate cleanser after the month-long coat (which is almost done, by the way!  squee!).

What are you all working on?  Have you moved on to the next season, or are you still working on things for right now?

Thursday, February 21, 2013

Helping Feet

This morning I decided to ignore the things I ought to be doing, and complete a couple little tasks on my coat to prepare it for finishing.

I'm at the point where I need to hand-stitch the hem.  I decided that I'd like a really nice finish on the raw edges of the front facing, which will remain exposed for a few inches below the lining.  So I cut some bias strips of lining to do a Hong Kong finish.  To make that easier for me, I used my new Edge-Joining Foot (a.k.a. "stitch-in-the-ditch foot").


I moved my needle over just far enough to stitch close to the ditch, but not in it:


And since I didn't mess that up, I decided to go ahead and edgestitch the pockets on. 

One of the books I've been reading lately is The Sewing Machine Accessory Bible by Wendy Gardiner and Lorna Knight.  This is a great little reference book which explains how to use each of the many sewing machine feet available, both in their standard uses and also in novel applications.  I had read a while ago that the Blind Hem Foot can also be used for edgestitching.  I decided to try it out on my pockets, and it really worked well.


The blind hem foot has a nice hefty guide on the right side for the fabric to butt up against.  Because of the bulk of my pockets, I felt this would help me keep my edge lined up better than the smaller guide on the edge-joining foot.  The blind hem foot also has a little "finger" that goes over the fabric to hold it down.  Even though my pockets were basted on, I felt this helped a lot to keep everything in place.  Here's how it looks while sewing:


You might need to click those to make it a little bigger - it was still pretty early when I did this, so there wasn't a whole lot of light!

In order for this to work as an edgestitcher, I had to move my needle all the way to the left, which is a 0.0 stitch width on my machine:


Here's the result:


I've said before that one of the reasons I bought the Janome is for the snap-on feet.  Since purchasing the machine, I've been adding to my library of feet - I think I've got 8 or 9 specialty feet now.  I admit that some of them I bought just because I though they were cool.  Once I had them in hand, I wasn't quite sure how to use them!  This little book is a real help - I'd definitely recommend it as part of a sewing reference library.


How about you guys?  Do any of you also have a "foot fetish?"  Which are your favorite feet to use?

Wednesday, February 20, 2013

Coat Progress

Thank you all so much for your lovely comments on my new sweater!  I have to admit I was a little surprised, because I know those photos weren't of the best quality - it's one of those things that really does have to be seen in real life.

Yesterday I finally had an afternoon free to get back to my coat.  It had been a full week since I'd touched it, and frankly, having 3 sewing UFOs at once has been stressing me out!  But yesterday I was able to get this one to a point where the pieces are no longer strewn on the guest bed.  I'm quite happy about that!

The week before, I had finished sewing together the second side and sleeve seams and constructed the collar.  Because the coat is designed with a side body panel and an under and upper sleeve, the place at the front and back armhole where these three seams intersect is kind of tricky.  I noticed a marked improvement by the time I got to my fourth one and had figured out that my chances of success were heightened if I marked the seam allowances on the inside.  Here's what it looks like outside:


I'm really impressed with how well this particular Burda pattern is drafted.  The under collar piece is actually smaller than the upper collar, as it should be to roll the seam under and get a nice curve around the neck.  Based on my experience sewing from the Burda magazine, I'd assumed the pattern would have you cut two of the same piece for the collar, so I was pleasantly surprised.  The pattern also includes separate pieces for the lining,  saving you the trouble of subtracting the facings from the front and back pieces. 

I spent a lot of time on the collar to get it just right, marking my seam allowances around the curve and doing a fair amount of hand-basting.

I put my chalk pencil into one of the spaces on my 5/8" marker.

Note how the seam naturally rolls under.

Completed collar.

So that was as far as I got last week.  Yesterday I basted the open edges of the collar together in preparation for inserting it onto the coat.


And then I spent a very long time carefully basting the collar to the neckline, stitching over it, then attaching the facings.  At which point, it really started looking like an honest-to-goodness coat!  I'm so happy with how the collar looks:

I love the nice roll around the neck.

The next thing I did was to cut out my lining fabric.  I'm using a cotton voile as a lining.  In truth, it's probably a little too lightweight, but I really didn't want to make this coat too warm.  I am a lady of a certain age, after all.  We're easily overheated!

The fancy pattern weights.  This one is for Carmela!

Once those pieces were cut and marked, it was time to construct the pockets.  These are done inside-out and then turned as you would a bag - you leave a little opening which is then invisibly stitched closed by hand.


See?  You can't even see the stitches!

Pretty proud of my curves too.

The last thing I did was to baste them onto the coat.  My next step - this afternoon, I hope - will be to edgestitch them on.


I realize that the fabric is so busy, you sort of don't know where to look.  Just my style!  Here's what I've got so far:


I think I'm going to end up having my buttonholes on the left, because I like the arrangement of the flowers better that way. 

I'm getting very near the end.  Once the pockets are attached, I'll just have to hand stitch the hems, then construct and insert the lining and make the buttonholes.  I thought about doing bound buttonholes, but one of the reasons I bought my new machine is that it makes a few different buttonhole styles, and I'm anxious to try them out.

Back to work!  I have to construct my lining before the marks I made with the Mark-B-Gone disappear!