
Start by removing the basting that closed the pocket opening. Don't grumble. I know it was only in there for a short time, but it really did make a difference on the quality of the press.

Slide the pocket flap into the opening.

From the back, line up the top edge of the flap with the top edge of the welt, like so:

Pin it in place, and then do the same for the other front. Once you've got both pocket flaps pinned in place, take the time to measure them to make sure they're even. Measure each flap to make sure the left and right sides are the same distance below the welt, and then measure the other flap to ensure that it matches. Taking the time to make sure everything matches up will really take your finish up a notch.

After making any adjustments, baste the flaps to that welt seam allowance.

Now we'll add the pocket bag. We're going to start from the bottom. Pin the right side of the bottom edge of the pocket bag to the edge of the bottom welt. The bottom of the pocket bag is the side that doesn't have the piece of outer fabric sewn to it. Here's how it will look:

We need to sew that bag to the welt, so flip the top half of the jacket out of the way:

Then sew the bag to the welt edge all the way from side to side. Sew from the welt side, as close to the welt stitching line as possible. Press the welt back into place so the pocket back is pressed downward.

Now fold up the top edge of the pocket bag (the one with the outer fabric attached) and line it up with the edge of the top welt. Stitch this edge in place just like you did the bottom one and press.


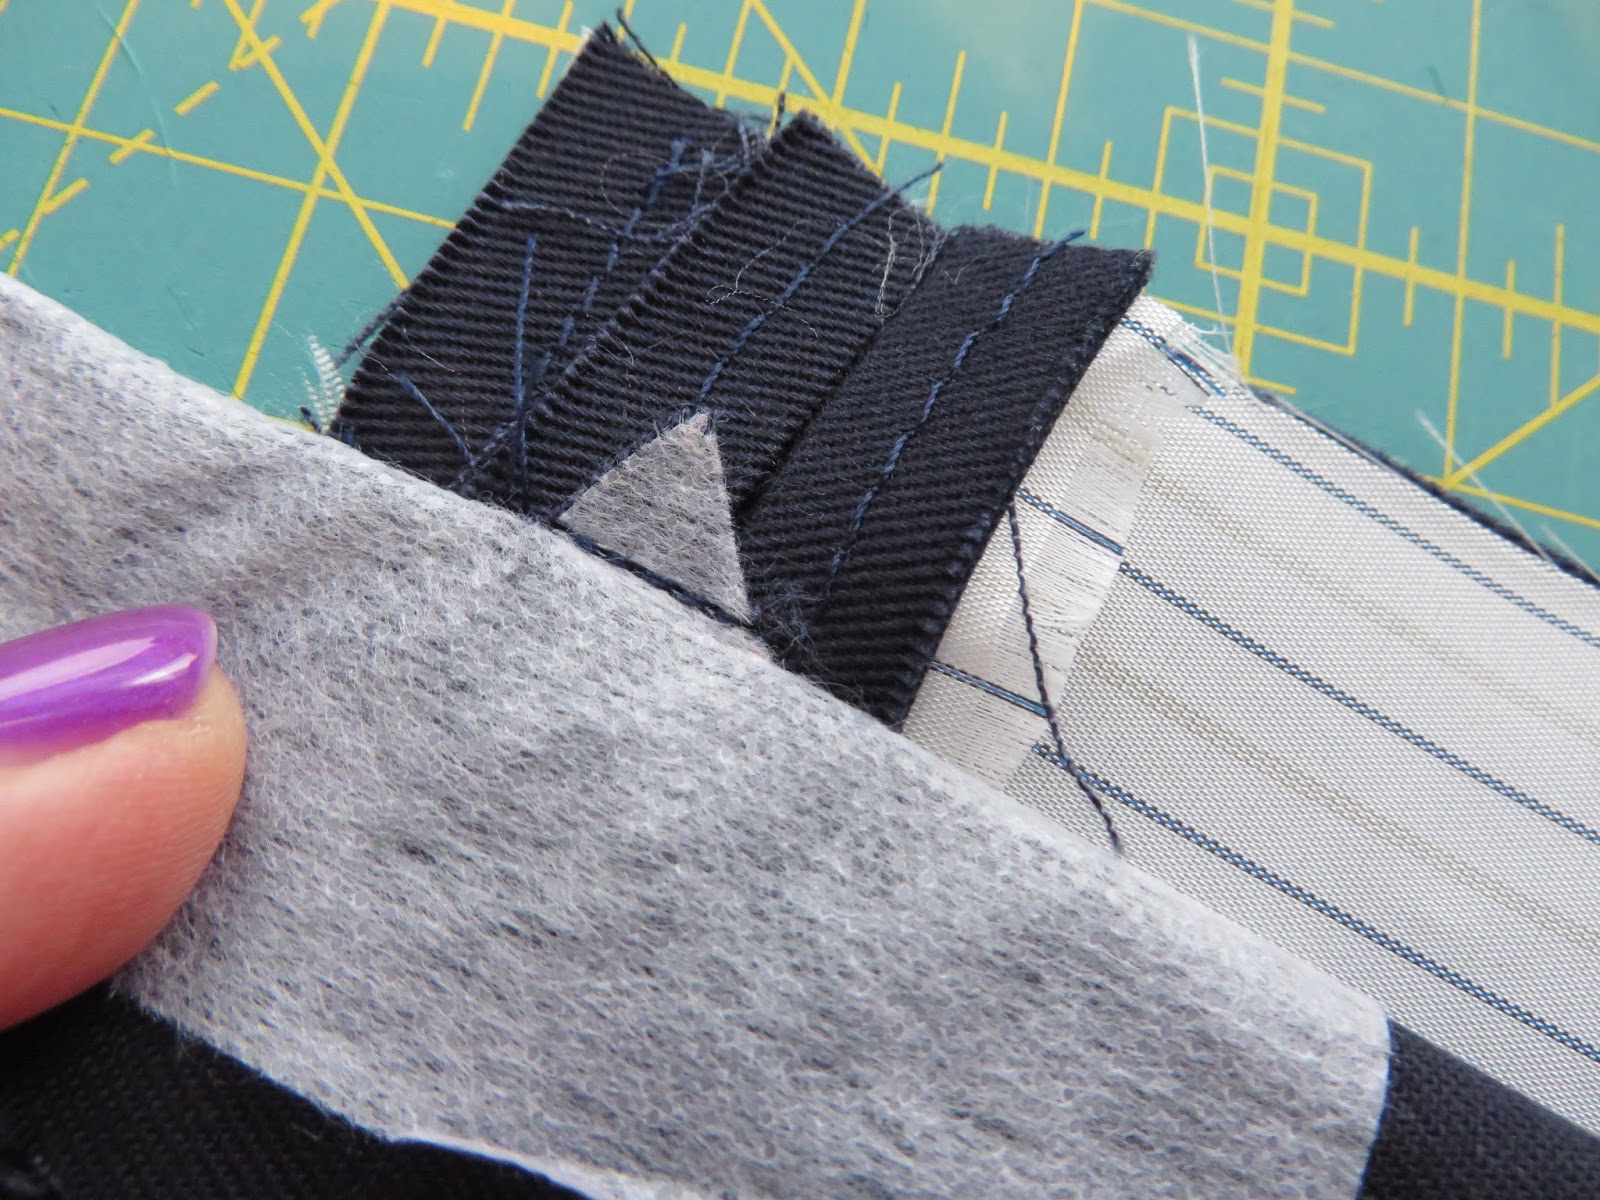
Next we need to stitch down the little triangles at the sides of the welt. To do this, you'll need to fold the jacket back. I also pin it to keep it from shifting while I sew. Rather than backstitch, sew all the way forward across the triangle, then all the way backward. Stitch as close to the bottom of the triangle as you can. If you need to you can switch out to a zipper foot, but I've found that it's not too difficult to do with my regular foot.


To complete the pocket, sew down the side edges. Ideally you'd sew this seam in line with the one you just did on the triangle, but I've always done mine a bit to the side with no problem. You may want to round off the bottom to keep lint from accumulating in the corners of the pockets.


Side note: when I closed up my jacket, I noticed that my pocket was too long and was in the way of the hem. So I shortened it at that point. I think this happened because I followed an entirely different method than the one given in the pattern. So be aware that if you're using this method with M6172, you may find that to be the case as well.
Now admire your functional pocket for a minute:

Then baste the opening closed again with a catch stitch. It's important to do this so that everything stays neat and lined up throughout the rest of the construction of the jacket.

Give it a nice press, and then go show everybody the gorgeous pockets you've made!

That really is a gorgeous pocket!
ReplyDeleteThanks, Karen!
DeleteIf I make pockets that nice I will certainly be showing everyone, interested or not!
ReplyDeleteThanks for showing this method! I was working on my muslin last night and the method in the McCalls pattern was way too bulky. Glad to find a much easier looking method!
ReplyDeleteThanks, Marie!
Delete